

ESP32 ESPHome Setup: Web Installer, Dashboard & First Device
Set up ESPHome on any ESP32 board: flash from the browser with the Web Installer, fall back to a manual install and the Dashboard when Improv serial fails, and create your first device.
Setting up ESPHome on an ESP32 board is usually a five-minute job: flash from your browser, enter your WiFi credentials, and you have a working device. It gets more finicky on newer chips like the ESP32-S3 or the ESP32-C3, where the browser-based flow can fail outright. This guide covers both paths that matter - the ESPHome Web Installer, and the manual install plus dashboard you fall back to when the Web Installer will not cooperate - and every step works the same no matter which ESP32 board you are holding.
What you need
Hardware
Any ESP32 board - DevKit, WROOM-32, a C3 or S3 Super Mini, ESP32-CAM, a display board like the Elecrow 7-inch... the steps are identical. Not sure what you have? Find your board among 270+ pages →
A USB data cable - a charge-only cable will not show up as a serial port.
Software
Windows, macOS or Linux - every step below works the same on all three.
A Chromium browser for the Web Installer - Chrome, Edge or Opera. Firefox and Safari cannot use it (no WebSerial support).
1Flash from your browser with the ESPHome Web Installer
The ESPHome Web Installer flashes firmware straight from your browser over WebSerial - no local install needed. It is the fastest path to a first working device.
Which browser works? WebSerial is Chromium-only: Chrome, Edge and Opera all support it. Firefox and Safari do not, so Connect will not find your board there.
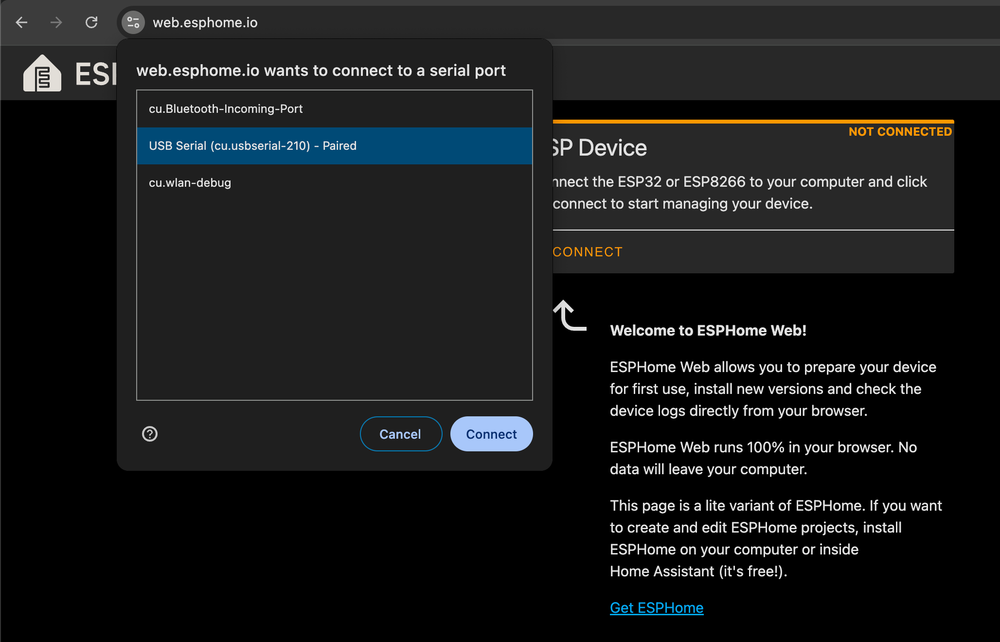
- Plug your board in with a USB data cable, then open web.esphome.io in a supported browser.
- Click Connect and pick your board's port from the browser's port picker.
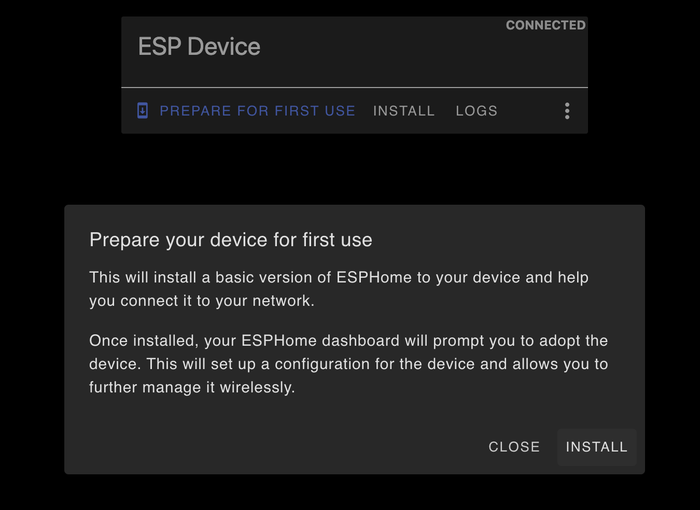
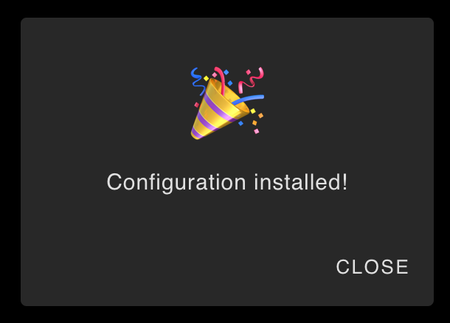
- Click Prepare for First Use, then Install, and wait while the firmware writes over the serial connection.
- Once it finishes, enter your WiFi network's credentials in the prompt that appears.
"An error occurred. Improv Wi-Fi Serial not detected." This is a known failure mode on some ESP32-S3 and ESP32-C3 boards: the flash itself succeeds, but the board does not answer on the Improv serial link afterward, usually a USB reset or boot-mode timing issue rather than a broken board. Unplugging and replugging the board sometimes clears it. If it does not, skip to Path 2 below - the manual install always works.
2Install ESPHome manually
When the Web Installer will not cooperate - or you would rather work locally - install the esphome command-line tool and use its dashboard instead.
Windows
Install Python 3.12 or newer, then in a terminal:
py -m venv .venv
.venv\Scripts\activate
pip install esphome
macOS
With Homebrew:
brew install esphome
Linux
Most distros now refuse a plain pip install into the system Python, so use a virtual environment:
python3 -m venv .venv
source .venv/bin/activate
pip install esphome
Check that it installed:
esphome version
You should see something like this (the version number moves with every release; this guide was fact-checked against ESPHome 2026.7.4):
Version: 2026.7.4
For anything not covered here, the official ESPHome installation guide stays current with every release.
3Run the ESPHome dashboard
The classic esphome dashboard command is gone as of ESPHome 2026.7.0 (July 2026) - running it just prints a redirect instead of starting anything:
$ esphome dashboard config
ERROR The built-in dashboard has been removed from ESPHome. Install and run ESPHome Device Builder instead:
  pip install esphome-device-builder
  esphome-device-builder
See https://github.com/esphome/device-builder for more information.
The local browser dashboard now ships as its own package, ESPHome Device Builder. Install it alongside esphome and point it at a folder for your configs:
mkdir config
pip install "esphome-device-builder[esphome]"
esphome-device-builder config
No sudo, ever: the dashboard listens on port 6052, and only ports below 1024 need elevated privileges on macOS or Linux. An earlier version of this guide told you to run it with sudo - that was simply wrong. If you do hit a real permission error, it is almost always the config folder's ownership, not the dashboard itself.
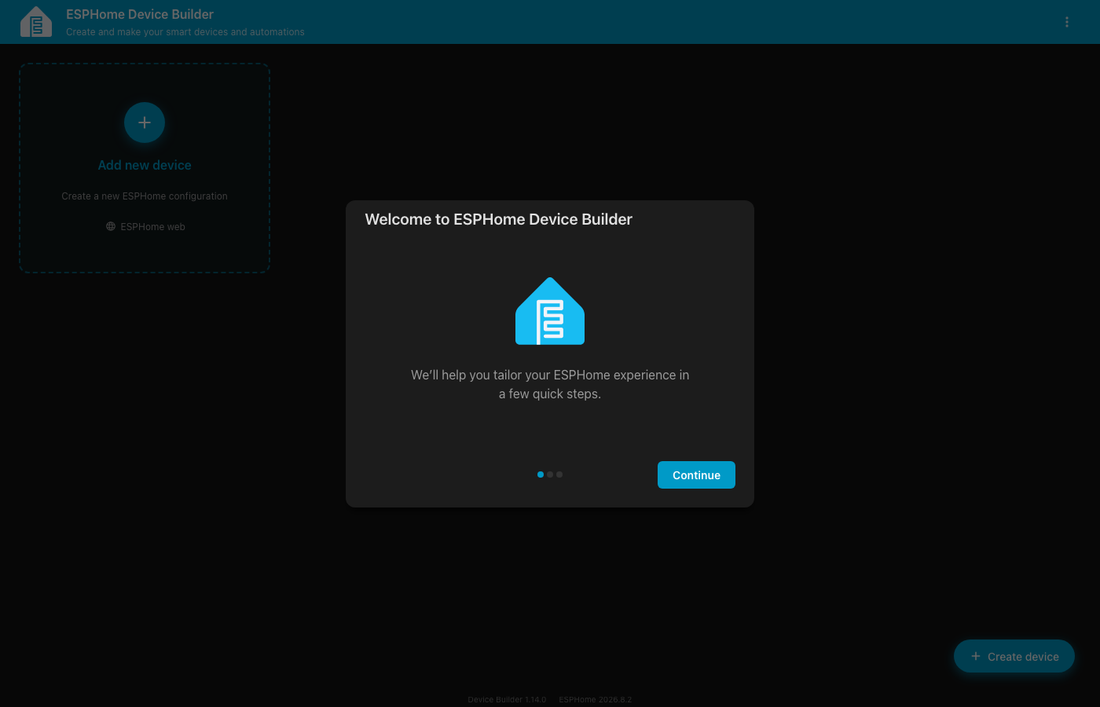
Once it is running, open http://localhost:6052 in your browser:
4Install ESPHome on your board from the dashboard
With the dashboard running, add your board as a device:
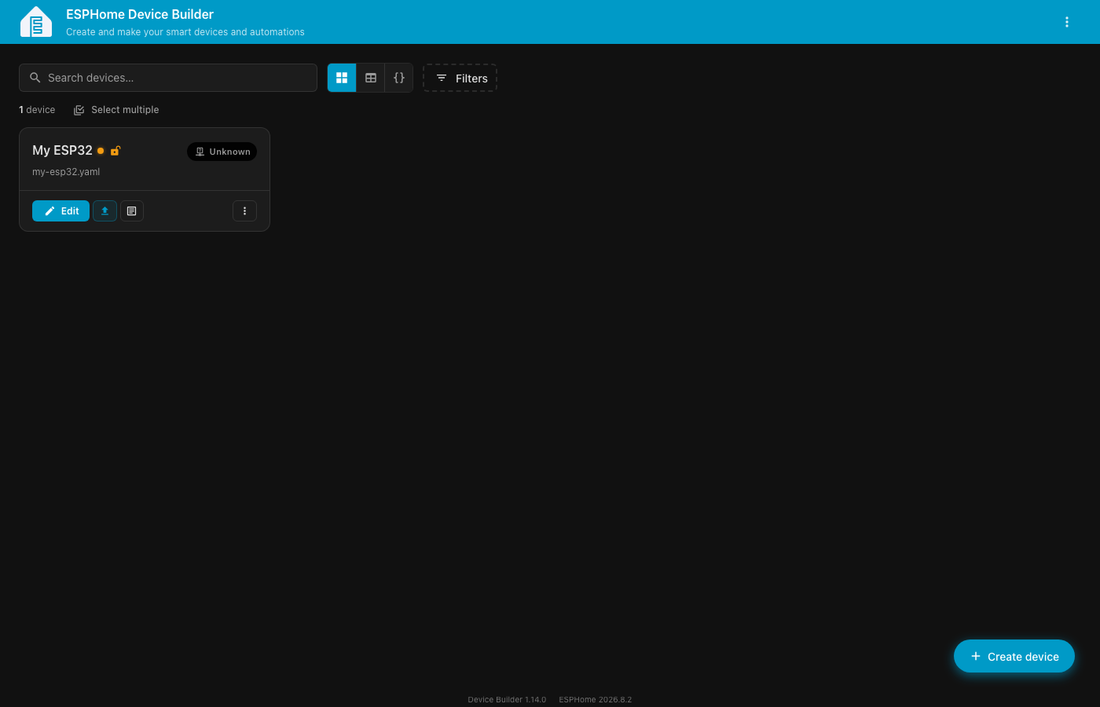
- Click New Device (labeled Add new device or Create device depending on your version) and give it a name - lowercase letters, numbers and dashes only.
- Select the chip your board uses - ESP32, ESP32-S3, ESP32-C3, and so on. Your board's page in the boards database names the right one if you are not sure.
- Choose Plug into the computer running the dashboard as the installation method.
- Pick the port your board is connected on from the list, then wait for the install to finish in the console that opens.
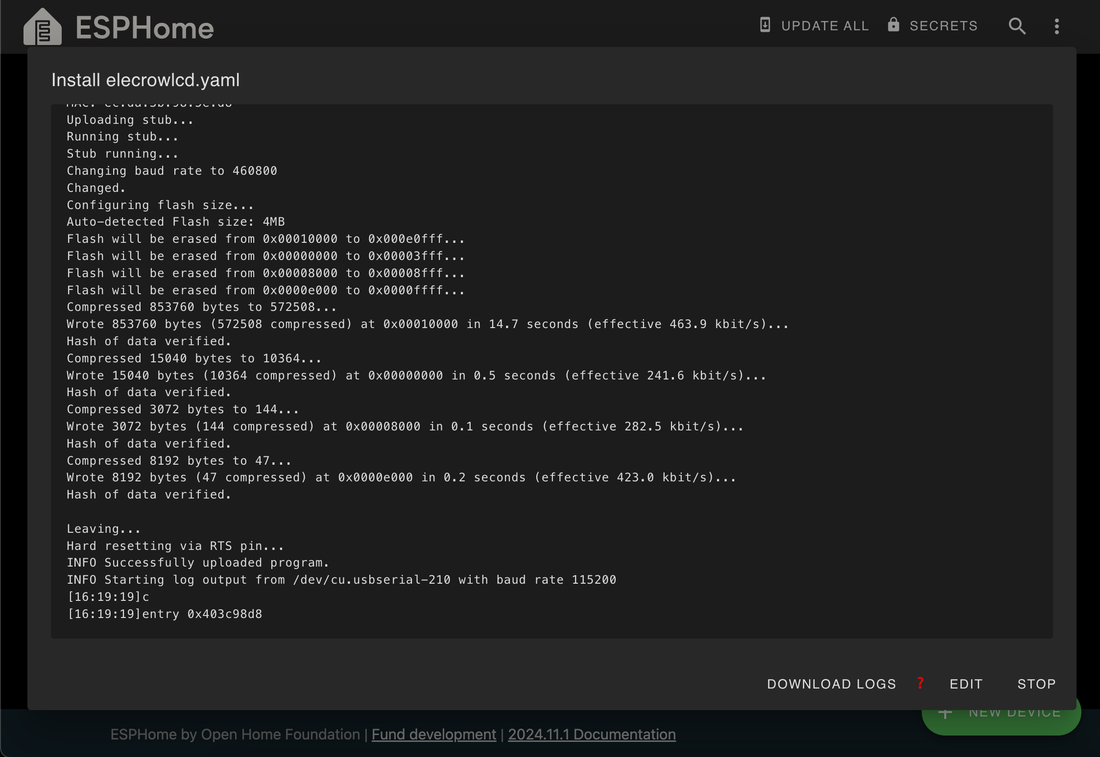
Edit your device's configuration
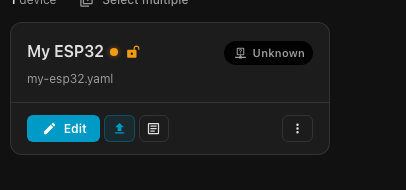
Your board now has a minimal ESPHome configuration and shows up as a device card. Click Edit next to it to open that configuration and start adding sensors, displays, or anything else your project needs.
Worked example: an Elecrow 7-inch display. We first hit the Improv error above while setting up an Elecrow 7-inch ESP32-S3 display board, which is what sent us down Path 2 in the first place. The full device config - display driver, touch, brightness - is written up in configuring the Elecrow 7-inch display.