
Zigbee2MQTT Home Assistant Setup: Full Step-by-Step Guide
A complete step-by-step guide to setting up Zigbee2MQTT with Home Assistant. Install Mosquitto MQTT, configure Zigbee2MQTT and integrate Zigbee-based devices.
If you've spent any time automating your home with Zigbee devices in Home Assistant, you've likely run into ZHA (Zigbee Home Automation), the built-in integration. While ZHA works out-of-the-box and supports a decent range of devices, it's not without its quirks-random disconnections, compatibility issues with certain Zigbee chips, and occasional firmware mismatches that make things frustrating, especially when trying to maintain a stable mesh network.
This is where Zigbee2MQTT steps in. Instead of tying your Zigbee network tightly to Home Assistant's internal architecture like ZHA does, Zigbee2MQTT decouples device communication via MQTT-a lightweight, publish-subscribe messaging protocol. This separation brings several real-world advantages:
- Better device compatibility: Zigbee2MQTT supports a massive and frequently updated list of devices. If you're using obscure or non-standard Zigbee gadgets, this is your best bet.
- Debuggable communication: Messages between devices and Home Assistant are transparent. You can open the MQTT logs and literally see what each device is saying.
- Protocol bridging: If you’re using ESP32-based sensors or other custom IoT devices that speak MQTT, integrating everything into one ecosystem becomes seamless.
Zigbee2MQTT turns your Zigbee mesh into a more flexible and maintainable network-especially useful if you’re tinkering with ESP32 boards or want full control over your home automation setup.
When I first started setting this up, I noticed there wasn't a clear step-by-step guide that walked through the entire process: installing the Mosquitto broker, setting up Zigbee2MQTT, updating the firmware on your Zigbee dongle, and pairing devices. That’s exactly what this guide aims to fix.
What You’ll Need #
Before diving into the setup, make sure you’ve got the following gear ready:

Zigbee bridge

Home Assistant device
Step 1: Install Mosquitto MQTT Broker #
If you haven't used MQTT with Home Assistant before, don't worry-this setup will walk you through everything from scratch. MQTT is a lightweight protocol that Zigbee2MQTT uses to pass messages between your Zigbee devices and Home Assistant. Even if you've never touched MQTT before, Home Assistant makes it simple with a built-in Mosquitto add-on.
If you're running Home Assistant OS, installing the broker is easy:
- In Home Assistant, go to Settings → Add-ons.
- Click on the Add-on Store.
- Search for Mosquitto broker.
- Click Install.
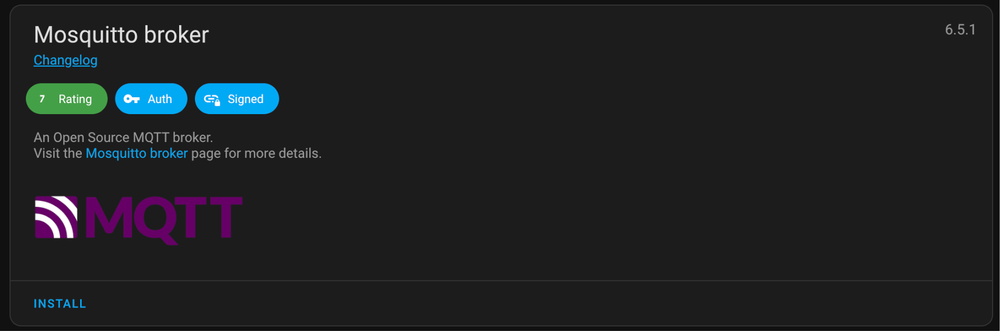
- After installation, click Start to launch the broker.
- (Optional) Enable Start on boot so it runs automatically on reboot.
For those running Home Assistant via Docker, you’ll need to set up Mosquitto separately. We’ve covered how to do that securely in this guide:
👉 Secure MQTT Broker in Docker for Home Assistant
Once the broker is up and running (either via add-on or Docker), you’ll be ready to start passing messages from Zigbee2MQTT into your Home Assistant dashboard.
Step 2: Set Up MQTT Integration in Home Assistant #
Now that the Mosquitto broker is running, Home Assistant needs to know how to talk to it. This is done by adding the MQTT integration.
- In Home Assistant, go to Settings → Devices & Services.
- Under Integrations, click + Add Integration (bottom-right corner).
- Search for MQTT.
- If Home Assistant autodetects the broker but shows a “Failed to connect” message, ignore it.
- Instead, click Add Integration manually and choose MQTT.
- When prompted, select Use Official Home Assistant Add-on.
After successful connection, Home Assistant will subscribe to the broker and begin listening for Zigbee2MQTT device messages.
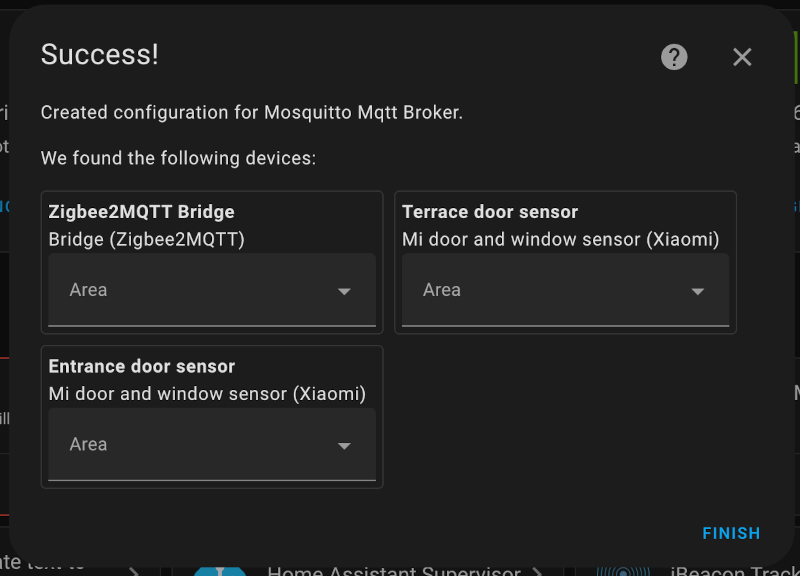
This step is essential-without the MQTT integration, devices added through Zigbee2MQTT won’t show up in Home Assistant.
Step 3: Install Zigbee2MQTT Add-on #
With the MQTT broker up and running, the next step is to install Zigbee2MQTT itself. This add-on acts as the interface between your Zigbee coordinator (USB dongle) and the MQTT broker.
Here’s how to install it in Home Assistant OS:
- In Home Assistant, go to Settings → Add-ons.
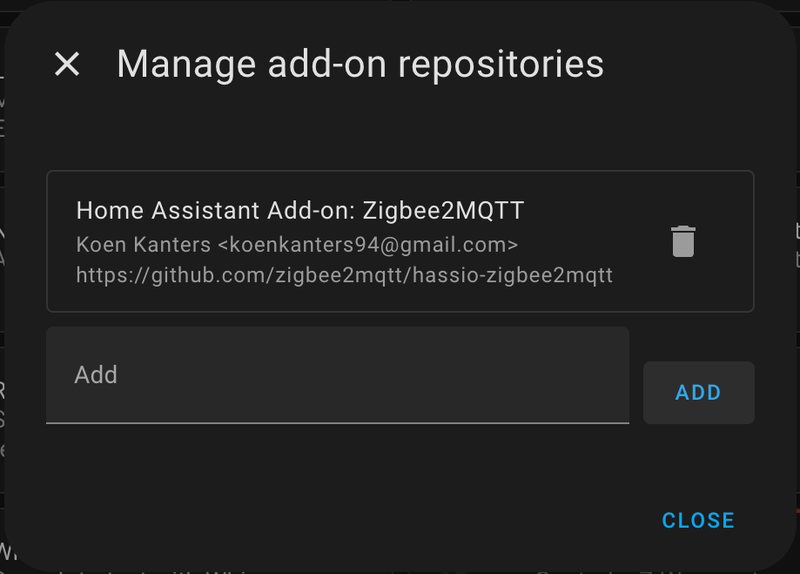
- Click the three dots (⋮) in the top-right corner and select Repositories.
- Add the following repository URL:
https://github.com/zigbee2mqtt/hassio-zigbee2mqtt
- After adding the repo, go back to the Add-on Store and search for Zigbee2MQTT.
- Click Install.
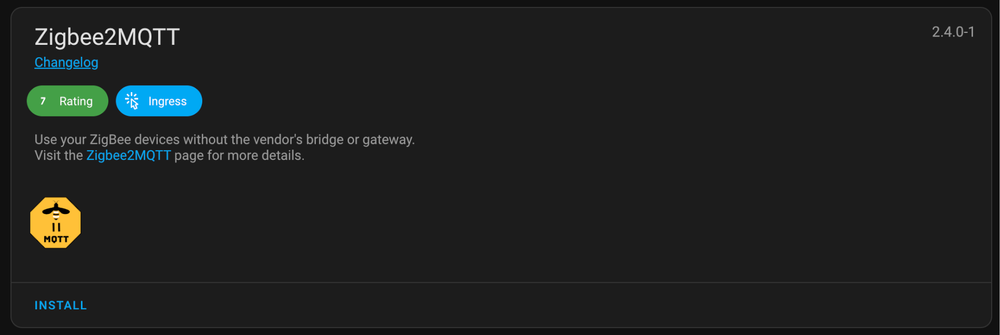
- Once installed, click Start to launch the service.
- (Optional) Enable Show in sidebar - this makes it easier to access the Zigbee2MQTT dashboard during setup.
- Click Open Web UI to launch the interface.

You should now see the Zigbee2MQTT dashboard. If the page fails to load or you get an error about the adapter not being supported, your Zigbee dongle might need a firmware update (we’ll cover that next).
Step 4: Update Zigbee Adapter Firmware (if needed) #
If the Zigbee2MQTT dashboard doesn’t load or you're seeing errors in the logs, it's likely your Zigbee coordinator's firmware is outdated. Zigbee2MQTT relies on compatible EZSP protocol versions, and older firmware often causes compatibility issues.
How to check: #
- Install the File Editor add-on in Home Assistant if you haven’t already.
- Open the log file:
(Use File Editor to navigate to this path.)/homeassistant/zigbee2mqtt/log/2025-06-17.23-29-45/log.log - Look for this error message:
Error: Adapter EZSP protocol version (8) is not supported by Host [13-16].
This means your adapter firmware is too old for the current Zigbee2MQTT version.
How to fix: #
- Using Chrome or Edge browser, go to the Sonoff Dongle Flasher Tool.
- Follow the firmware flashing instructions specific to your USB dongle model.
- Upgrade from your current version (e.g., v6.10.3) to the latest available (e.g., v8.0.2).

Once the flashing is complete:
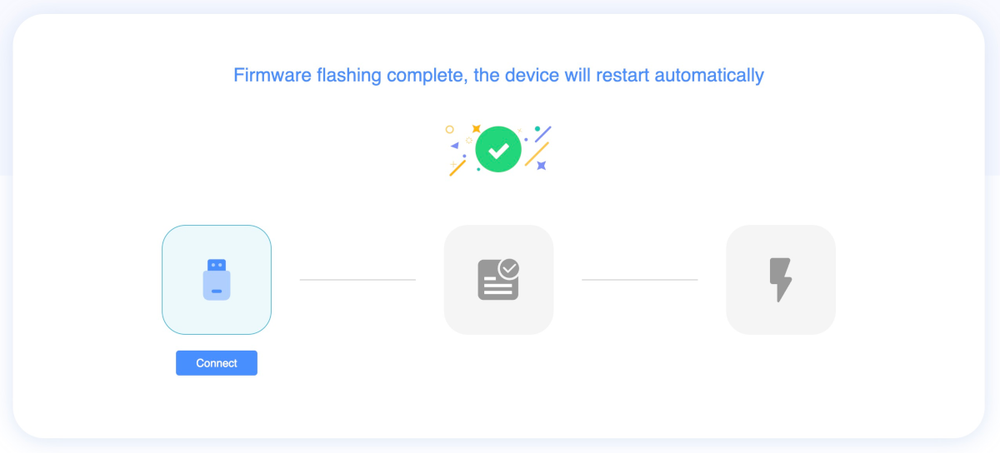
- Plug the dongle back in.
- Restart the Zigbee2MQTT add-on.
- Open the Web UI.
You should now have access to the Zigbee2MQTT dashboard without any firmware errors.
Step 5: Add Zigbee Devices #
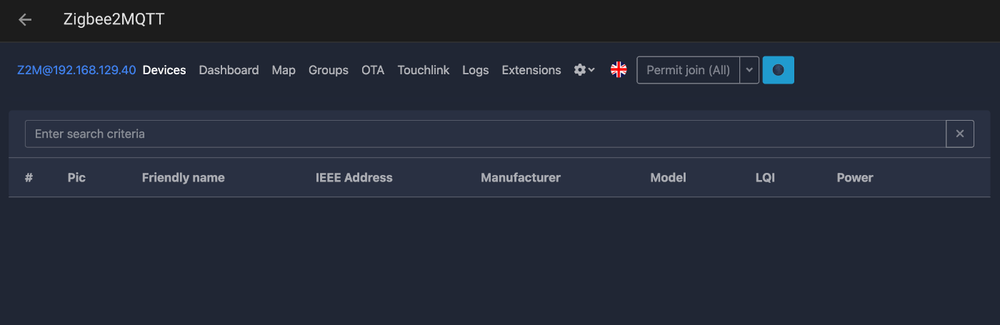
With everything set up, it’s time to start adding Zigbee devices to your network.
- Open the Zigbee2MQTT dashboard from the Home Assistant sidebar.
- Click “Permit join (All)” - this allows new devices to join your Zigbee network for a limited time.
- Factory reset the Zigbee device you want to add.
- Most devices will automatically start pairing after a reset.
- If not, consult the official pairing instructions for your model:
🔗 Supported Devices List – Zigbee2MQTT
Once successfully paired, devices will appear in the Zigbee2MQTT dashboard and should also show up in Home Assistant via the MQTT integration. From there, you can rename them, assign them to rooms, and start building automations.
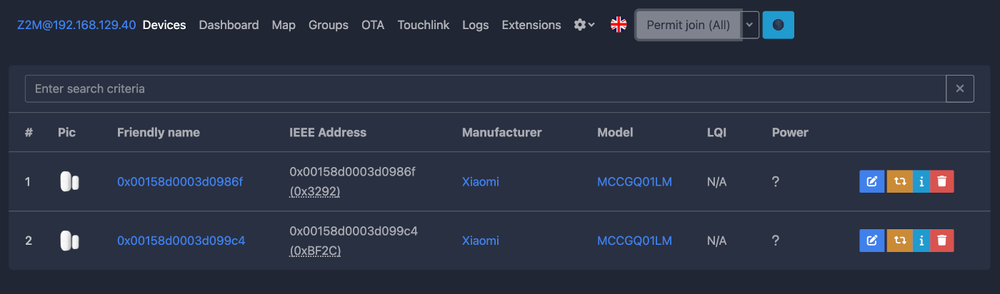
Tip: If a device refuses to pair, make sure it’s not already joined to another coordinator and that it’s close enough to your Zigbee dongle during pairing.
Troubleshooting #
If you run into issues during setup or while pairing devices, here are a few common fixes:
Devices not pairing?
Make sure you’ve enabled “Permit join” in the Zigbee2MQTT dashboard. If that’s set and the device still won’t connect, try factory resetting the device again. Some devices need a very specific reset procedure. For more help, check the official FAQ:
🔗 Why does my device not or fail to pair?Firmware not compatible?
If Zigbee2MQTT throws errors about unsupported protocol versions, it’s likely your USB adapter firmware is outdated. Double-check both:- The adapter type/model
- The firmware version
Update it using the Sonoff Dongle Flasher Tool as mentioned earlier.
Zigbee2MQTT dashboard not loading?
Confirm that the adapter is plugged in and correctly detected. Check the add-on logs for detailed error messages.
Most problems can be solved with a combination of firmware updates and verifying device compatibility using the supported devices list.
Optional: Use with MQTT-Based Devices #
One of the biggest advantages of using Zigbee2MQTT is that you’re not limited to just Zigbee. Since everything flows through MQTT, you can easily extend your setup with other MQTT-enabled devices-including your own DIY projects.
For example:
- Add ESP32-based sensors that publish temperature, humidity, or motion data via MQTT.
- Use ESPHome or custom firmware like Tasmota to send MQTT messages from buttons, relays, or even light sensors.
- Create mixed-protocol automations where a Zigbee button triggers an ESP32-based LED strip-or vice versa.
If you're experimenting with ESP32 boards and MQTT, check out our guide on setting up a secure broker in Docker environments:
🔗 Secure MQTT Broker in Docker for Home Assistant
This kind of flexibility is exactly why many users switch from ZHA to Zigbee2MQTT-it’s not just more stable, it also plays better with the rest of your custom smart home setup.
Conclusion #
At this point, you've got a fully functional Zigbee2MQTT setup running in Home Assistant, backed by a reliable local MQTT broker. Compared to ZHA, this setup gives you more control, better device compatibility, and far easier debugging when things go sideways.
Even better, you're now set up for expansion - whether that’s adding more Zigbee devices or integrating custom MQTT sensors using ESP32 boards or other microcontrollers. With everything flowing through MQTT, your smart home isn’t tied to one protocol or ecosystem. You’re free to build and scale however you like.