
Elecrow CrowPanel 2.8 (ESP32)
Compact 2.8" 320x240 resistive-touch HMI on a classic ESP32 - the CYD alternative with proper Grove ports, a speaker output and an acrylic case, which we tested hands-on in our CrowPanel roundup.

Elecrow CrowPanel 2.8 (ESP32) Pinout
21 pins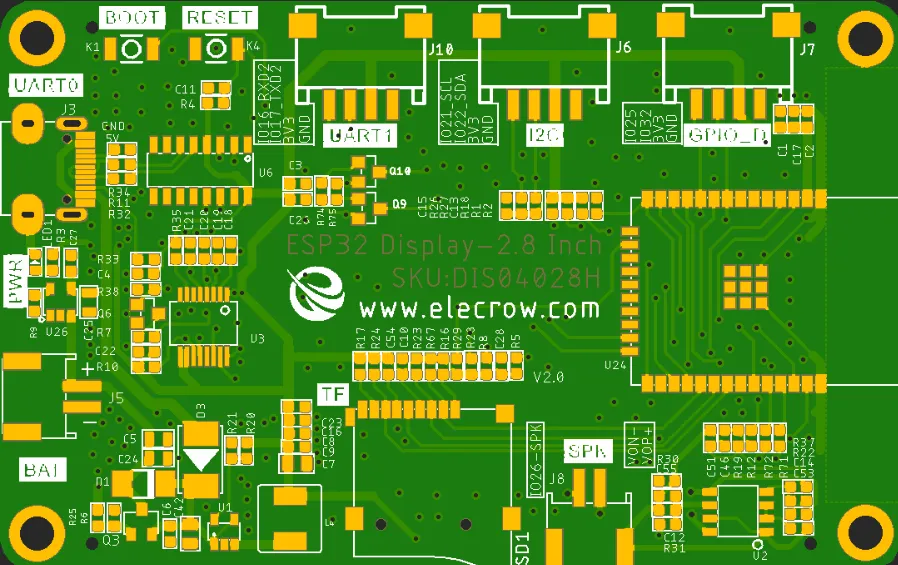
| Pin | GPIO | Labels | Status | Capabilities | Notes |
|---|---|---|---|---|---|
| 1 | 0 | IO0BOOT | strapping | - | BOOT button - hold at power-up for download mode |
| 2 | 1 | IO1TXD0 | uart | uart | UART0 - CH340C USB-C flashing/logs, also on the UART0 port |
| 3 | 2 | IO2TFT_DC | strapping | - | Internal - display data/command select |
| 4 | 3 | IO3RXD0 | uart | uart | UART0 - CH340C USB-C flashing/logs, also on the UART0 port |
| 5 | 5 | IO5SD_CS | strapping | spi | microSD slot - chip select |
| 6 | 12 | IO12TFT_MISO | strapping | spi | Internal - display/touch SPI MISO |
| 7 | 13 | IO13TFT_MOSI | strapping | spi | Internal - display/touch SPI MOSI |
| 8 | 14 | IO14TFT_SCLK | strapping | spi | Internal - display/touch SPI clock |
| 9 | 15 | IO15TFT_CS | strapping | spi | Internal - display chip select |
| 10 | 16 | IO16UART1_RX | uart | uart | UART1 Crowtail port |
| 11 | 17 | IO17UART1_TX | uart | uart | UART1 Crowtail port |
| 12 | 18 | IO18SD_CLK | safe | spi | microSD slot - clock |
| 13 | 19 | IO19SD_MISO | safe | spi | microSD slot - MISO |
| 14 | 21 | IO21SCL | safe | i2c | I2C Crowtail port - note the swap: SCL is IO21, SDA is IO22 on this board |
| 15 | 22 | IO22SDA | safe | i2c | I2C Crowtail port |
| 16 | 23 | IO23SD_MOSI | safe | spi | microSD slot - MOSI |
| 17 | 25 | IO25GPIO_D | safe | adc · dac | Free GPIO on the GPIO_D port - ADC and DAC capable |
| 18 | 26 | IO26SPK | safe | dac | Speaker output - DAC through the onboard amplifier to the PH2.0 connector |
| 19 | 27 | IO27TFT_BL | safe | pwm | Display backlight - plain GPIO/PWM, HIGH is on |
| 20 | 32 | IO32GPIO_D | safe | adc | Free GPIO on the GPIO_D port - ADC capable |
| 21 | 33 | IO33TOUCH_CS | safe | spi | Internal - XPT2046 touch controller chip select |
Start with these
12 pins with no boot or system involvementFreely assignable - no strapping, flash, USB or JTAG duties. Ideal first picks for buttons, sensors and LEDs.
Fine - with a little care
9 pins · 9 things to knowIO0 Bootstrapping pin (enter bootloader when low); internal pull-up. Strapping
Must be HIGH during boot for normal startup; if held LOW on reset, forces flash programming mode.
IO1 Default UART0 TX pin for USB-serial programming and console. UART
Connected to on-board USB-UART for uploading and logs; drives serial output at boot, so using as GPIO can disrupt programming or console.
IO2 Bootstrapping pin (must be low or floating at reset); internal pull-down. Strapping
If driven HIGH on reset (while IO0 is LOW), selects an unsupported SDIO boot mode, causing boot failure.
IO3 Default UART0 RX pin for USB-serial programming (console input). UART
Used for receiving data from USB-UART (programming); also pulled HIGH at boot for console communication, so using as GPIO can disrupt uploads.
IO5 Bootstrapping pin; internal pull-up; VSPI CS0 (default SPI chip-select); acts as FSPIWP (flash write-protect) on internal-flash variants. Strapping
Must be HIGH during boot; if pulled LOW at reset, alters SDIO slave timing and may prevent normal boot.
IO12 Bootstrapping pin; JTAG TDI; sets flash voltage (VDD_SDIO); also HSPIQ (flash data line). Strapping
Keep LOW during boot (internal PD); pulling HIGH at reset selects 1.8V flash mode, causing flash brownout if 3.3V flash is used.
IO13 JTAG clock pin (TCK); also ADC2 channel 4 / Touch4 input. JTAG
Used for JTAG debugging (TCK); avoid using as GPIO if JTAG is needed.
IO14 JTAG mode select pin (TMS); also HSPI CLK and PWM-capable GPIO. JTAG
Used for JTAG debugging (TMS); driving it as GPIO may interfere with JTAG or produce spurious signals at boot.
IO15 Bootstrapping pin; JTAG TDO; controls UART0 boot log output; also HSPICS0 (secondary SPI CS). Strapping
Keep HIGH during boot (internal PU); if LOW on reset, bootloader log is silenced and boot mode may change.
All 21 pins on the Elecrow CrowPanel 2.8 (ESP32) are usable GPIO.
Peripheral wiring is straightforward: I²C is mapped to SDA on GPIO22 and SCL on GPIO21.
Beyond plain digital I/O you get 2 ADC-capable pins for sensors and battery monitoring, PWM on 1 pins and 2 true DAC outputs.
9 of the exposed pins carry boot-time or system duties on the ESP32 (IO0, IO1, IO2 and 6 more) - check the guidance above before wiring anything to them. IO16, IO17, IO18, IO19 and 8 more are free of any such role - the safest first picks.
Pinout notes The display runs on one SPI bus - IO14 (SCLK), IO13 (MOSI), IO12 (MISO), IO15 (CS), IO2 (DC) - with the XPT2046 touch controller sharing it on its own chip…
The display runs on one SPI bus - IO14 (SCLK), IO13 (MOSI), IO12 (MISO), IO15 (CS), IO2 (DC) - with the XPT2046 touch controller sharing it on its own chip select (IO33). The backlight is a plain GPIO on IO27. The microSD slot gets the other hardware SPI: IO18 (CLK), IO19 (MISO), IO23 (MOSI), IO5 (CS), so display and SD never fight over a bus.
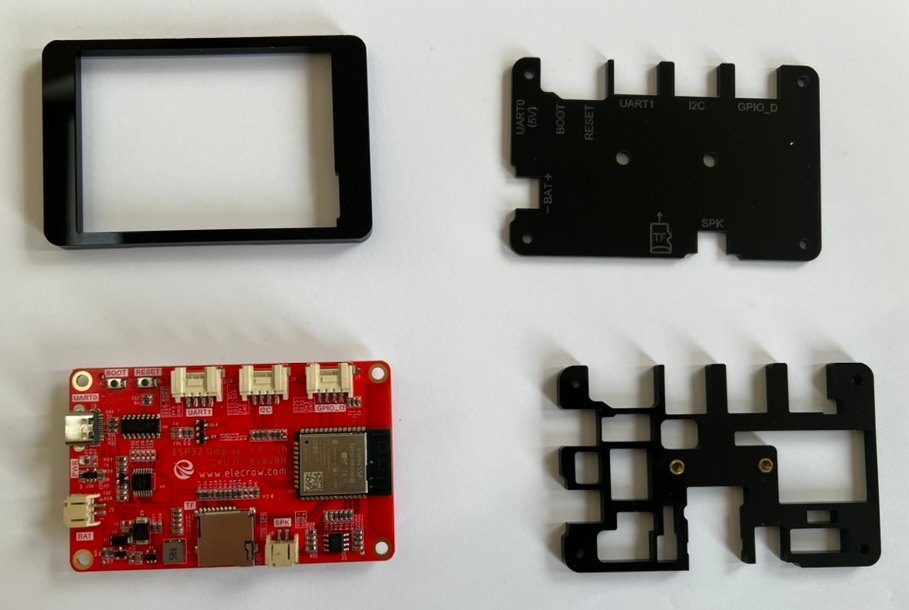
User I/O comes out of the four HY2.0-4P ports on the back: UART0 (the CH340C flashing UART, plus 5V input), UART1 on IO16/IO17, I2C on IO22 (SDA) / IO21 (SCL), and GPIO_D with IO25 and IO32 - both ADC-capable, and IO25 doubles as the second DAC. The speaker connector is driven from DAC IO26 through a small amplifier.
IO0 is the BOOT button. Since nearly every free pin is committed to a port or the SD slot, plan peripherals around the Crowtail connectors rather than expecting a pin header - there isn't one.
Getting started
flash your first firmware in ~2 minutesBoard: ESP32 Dev Module Flash Size: 4MB (32Mb) Partition Scheme: Default 4MB with spiffs (1.2MB APP/1.5MB SPIFFS) Upload Speed: 921600
// toggle GPIO18 - wire an LED and resistor to it
void setup() {
  pinMode(18, OUTPUT);
}
void loop() {
  digitalWrite(18, HIGH); delay(500);
  digitalWrite(18, LOW);  delay(500);
}[env:elecrow-crowpanel-2-8-esp32]
platform = espressif32
board = esp32dev
framework = arduino
monitor_speed = 115200
upload_speed = 921600esp32dev - or type it after board =.esp32:
board: esp32dev
variant: esp32
framework:
type: esp-idf
# blink - GPIO18
output:
- platform: gpio
pin: 18
id: led_out
light:
- platform: binary
name: "LED"
output: led_outesp32dev (same ids as PlatformIO).esptool.py --chip esp32 --port /dev/ttyACM0 \
--baud 921600 write_flash 0x1000 firmware.bin--port = your /dev/tty* (macOS/Linux) or COMx (Windows).Good to know
board-specific quirks worth 60 seconds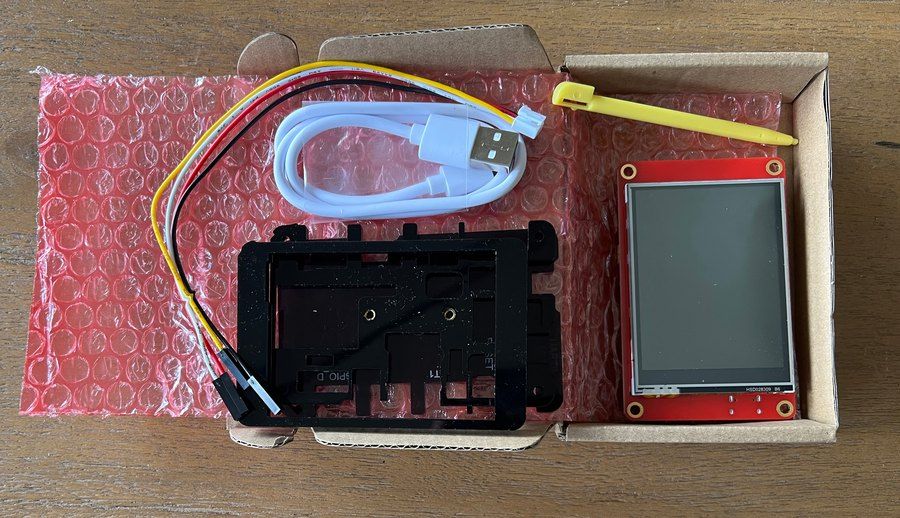
The XPT2046 touch layer responds to pressure, not skin - light capacitive-style taps do nothing. Elecrow includes a stylus for a reason, and UI buttons should be sized generously. On the plus side, resistive touch works with gloves and in the rain, which capacitive panels hate. Calibrate once in firmware and store the values - an uncalibrated XPT2046 is the usual cause of "touch is offset" complaints on this…
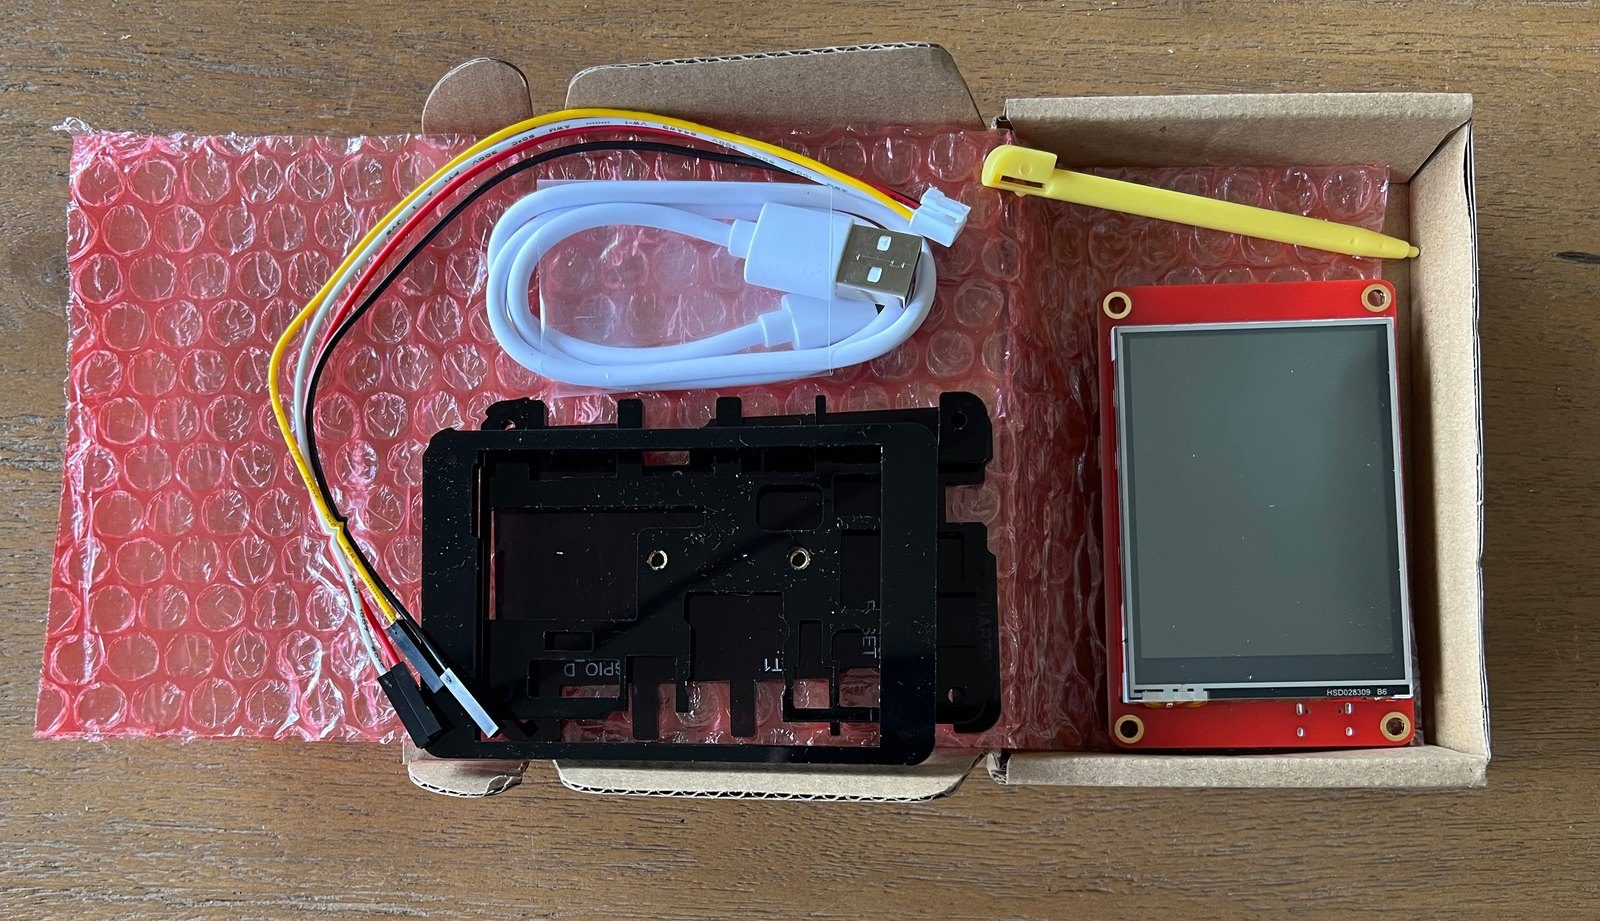
The XPT2046 touch layer responds to pressure, not skin - light capacitive-style taps do nothing. Elecrow includes a stylus for a reason, and UI buttons should be sized generously. On the plus side, resistive touch works with gloves and in the rain, which capacitive panels hate.
Calibrate once in firmware and store the values - an uncalibrated XPT2046 is the usual cause of "touch is offset" complaints on this class of board.
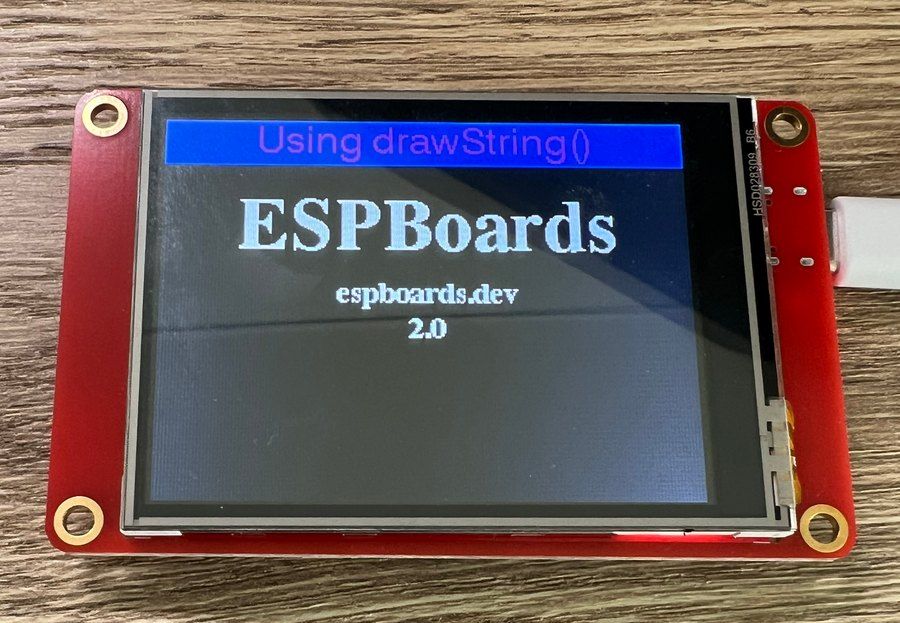
ILI9341 + XPT2046 is the most battle-tested display combo in the ESP32 world - ESPHome, TFT_eSPI and LVGL all support it natively, no exotic drivers or forks. In our review we had TFT_eSPI examples running within minutes, and the same tft_setup.h we published there still applies. In Arduino IDE, pick the "ESP32-WROOM-DA Module" board and keep TFT SPI at 27MHz - faster clocks corrupt the ILI9341 on long ribbon…
ILI9341 + XPT2046 is the most battle-tested display combo in the ESP32 world - ESPHome, TFT_eSPI and LVGL all support it natively, no exotic drivers or forks. In our review we had TFT_eSPI examples running within minutes, and the same tft_setup.h we published there still applies.
In Arduino IDE, pick the "ESP32-WROOM-DA Module" board and keep TFT SPI at 27MHz - faster clocks corrupt the ILI9341 on long ribbon runs.
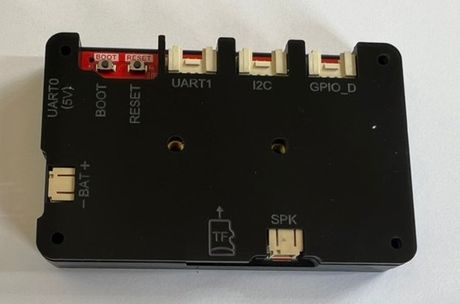
Expansion happens through the four HY2.0-4P Crowtail ports - UART0, UART1, I2C and GPIO_D (IO25/IO32) - all reachable through the acrylic case cutouts, plus the speaker and battery connectors. There is no bare pin header, so sensors connect Grove-style with the included cable. IO25 and IO32 on the GPIO_D port are your only free general-purpose pins - everything else is committed to the display, SD or…
Expansion happens through the four HY2.0-4P Crowtail ports - UART0, UART1, I2C and GPIO_D (IO25/IO32) - all reachable through the acrylic case cutouts, plus the speaker and battery connectors. There is no bare pin header, so sensors connect Grove-style with the included cable.
IO25 and IO32 on the GPIO_D port are your only free general-purpose pins - everything else is committed to the display, SD or ports. Plan I2C-based sensor chains for anything bigger.
Gallery
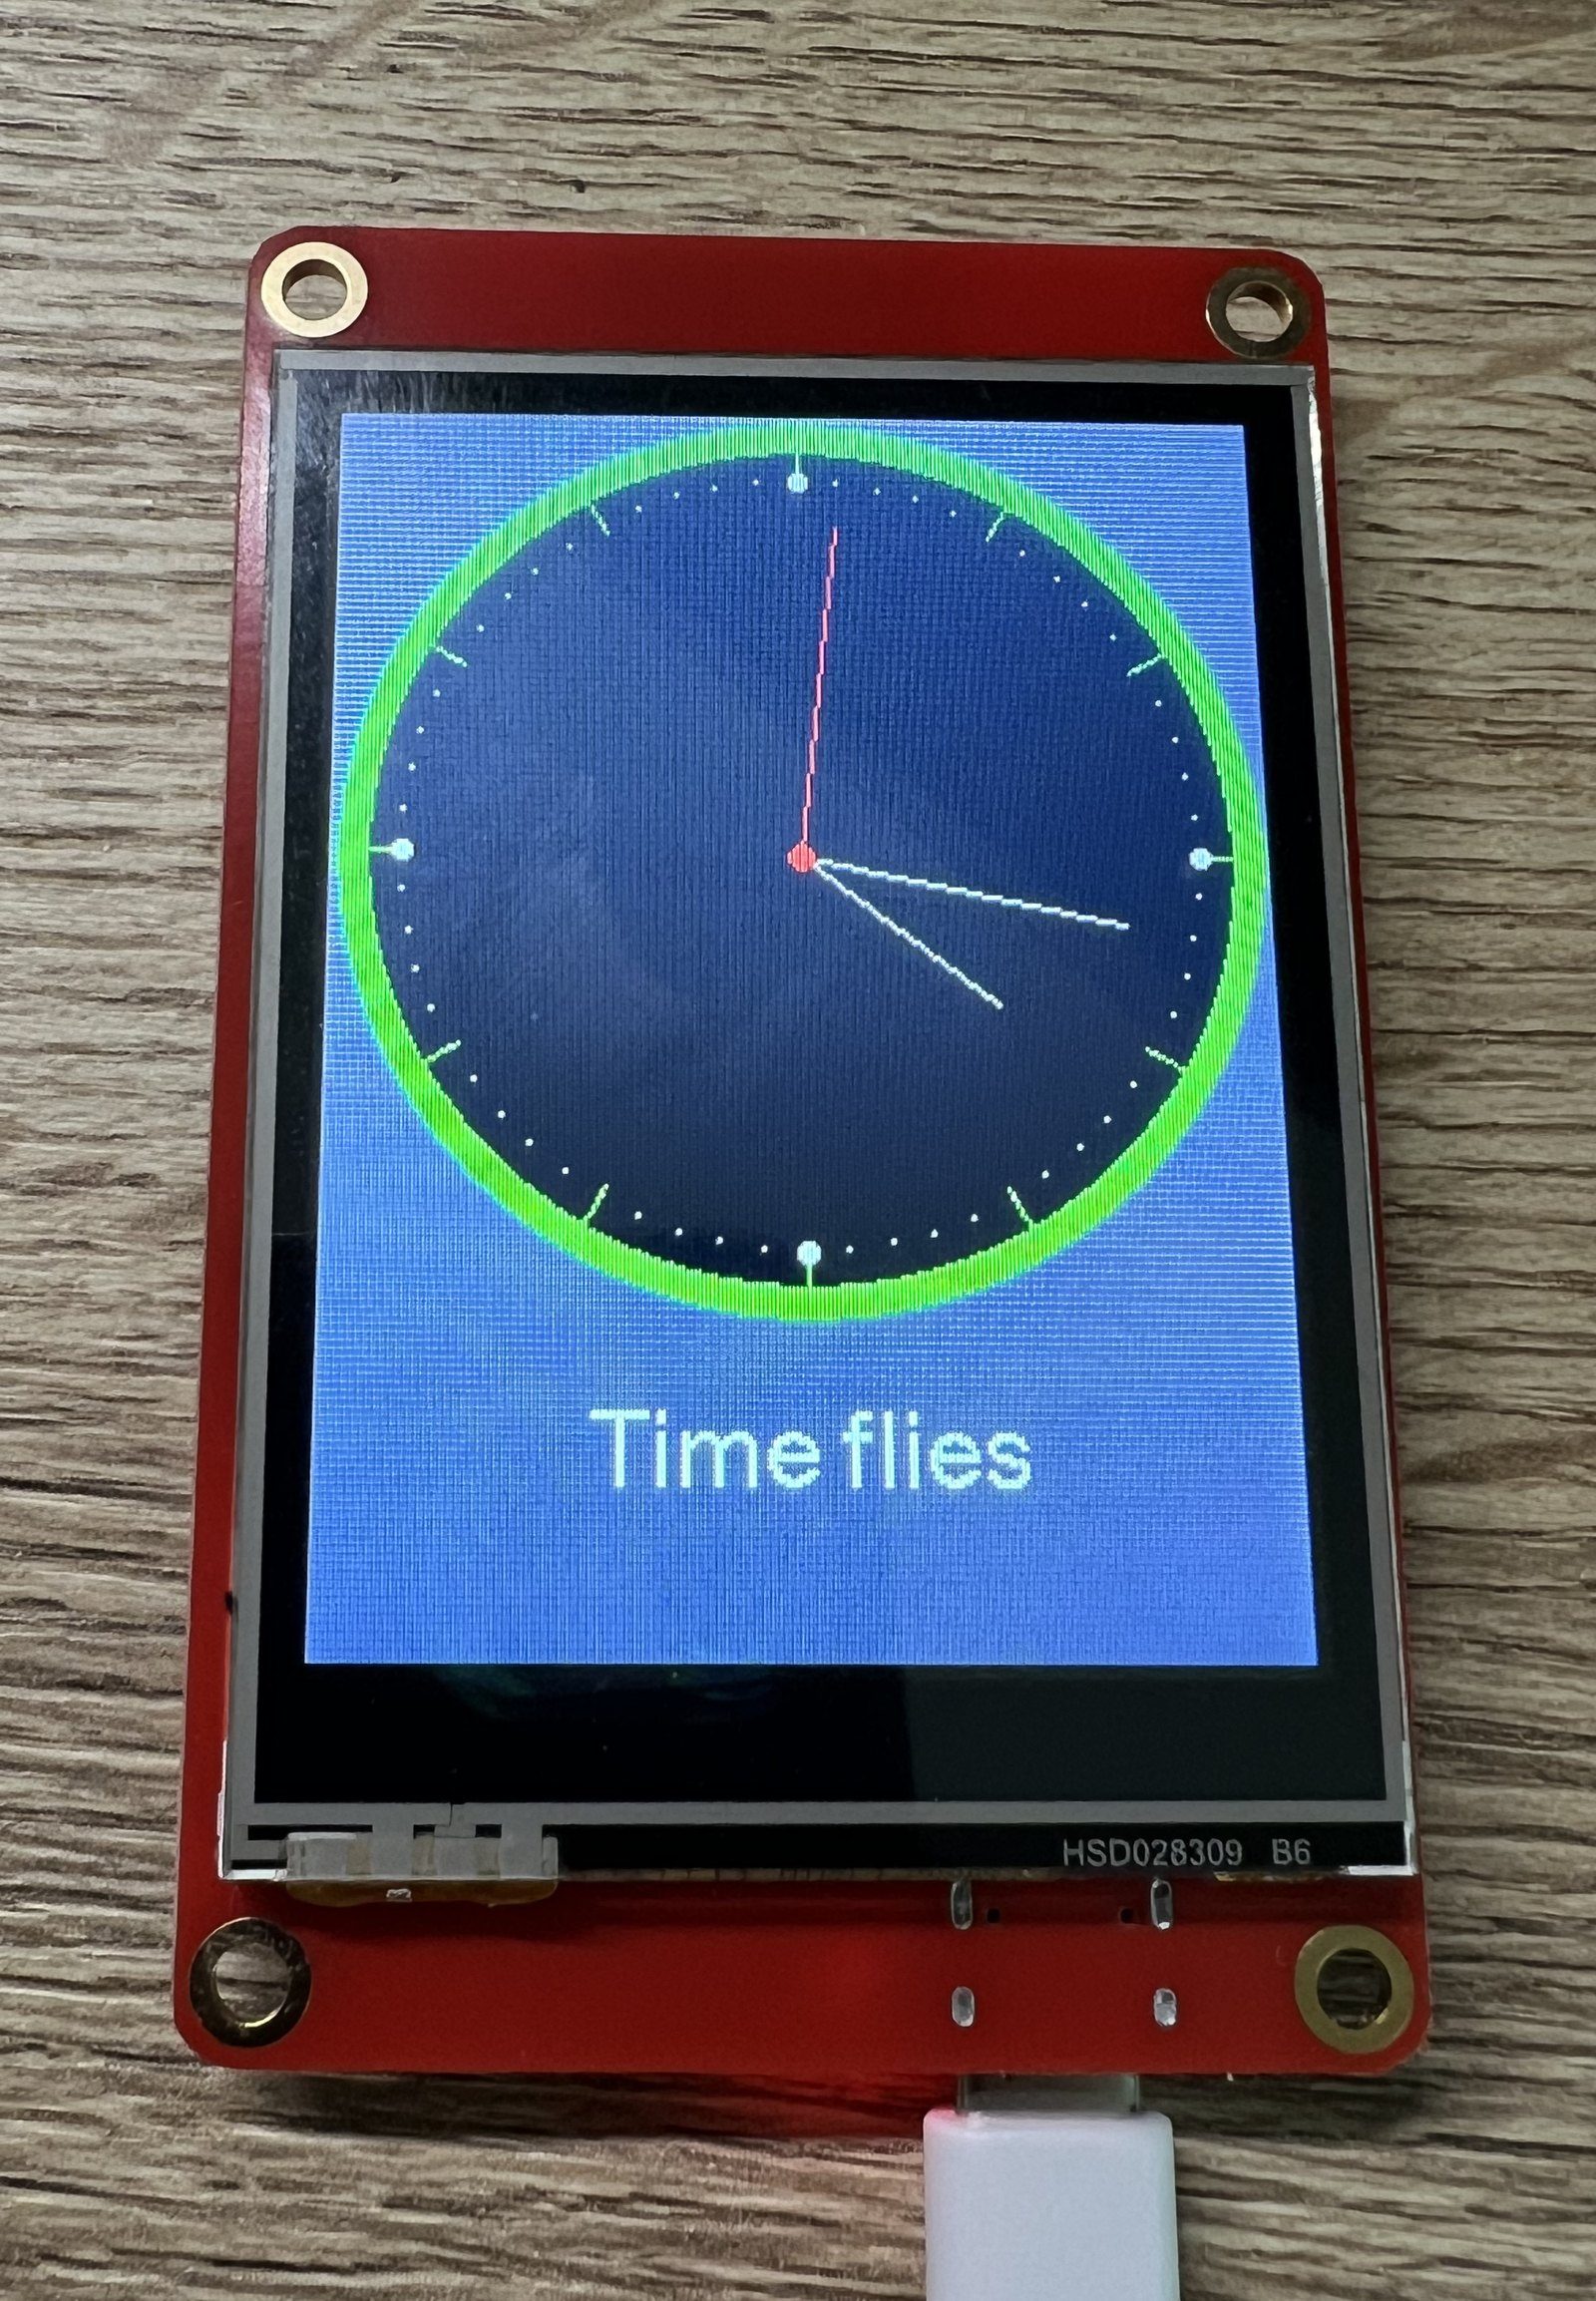
5 photos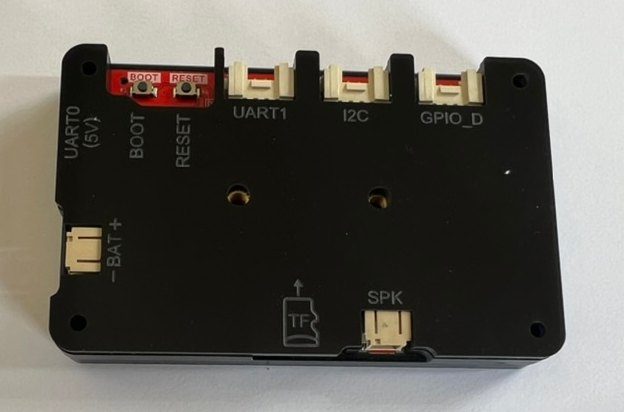
Specifications
ESP32 · vs other ESP32 chips →About this board
Inside sits the ESP32 - a dual-core Xtensa with both Bluetooth Classic and BLE.
At $24.90 it's on the expensive side for an ESP32 board - most land around $20.
Around the module: a TFT LCD 2.8" 320x240 display with touch, a microSD slot, a speaker, a speaker connector (PH2.0-2P), battery charging via PH2.0-2P and Boot/Reset buttons.
The Elecrow CrowPanel 2.8 is the small classic of the CrowPanel line - a 2.8-inch 320x240 ILI9341 touchscreen on a plain ESP32-WROOM-32 (4 MB flash, no PSRAM). We tested it hands-on in our CrowPanel 2.8" vs 7.0" review, where it earned the role of the sensible "cheap yellow display, but tidier" option: same display class as a CYD, but with a proper acrylic case, labeled Crowtail ports and consistent documentation.
Know what you're getting on the input side: the touch layer is resistive (XPT2046), so it wants a firm fingertip or the included stylus rather than light capacitive taps. In exchange, the display stack is about as well-supported as ESP32 screens get - ILI9341 plus XPT2046 works out of the box in ESPHome, TFT_eSPI and LVGL, and our review walks through the exact tft_setup.h for TFT_eSPI.
Around the back you get the Crowtail-style ports (UART0, UART1 on IO16/IO17, I2C on IO21/IO22, and a GPIO port with IO25/IO32), a microSD slot on its own SPI bus, a speaker connector fed by the ESP32's DAC on IO26, and a battery connector with charging - a lot of expansion for a display this size.
The honest limits: no PSRAM means LVGL projects should stay modest (the 320x240 frame fits, but don't plan image-heavy UIs), and the classic ESP32 is the oldest silicon in the CrowPanel family. For a sensor dashboard, thermostat panel or ESPHome wall controller, that's usually all you need - and it's exactly the class of project we'd use it for.
- 2.8" 320x240 ILI9341V TFT with XPT2046 resistive touch (stylus included)
- Classic ESP32-WROOM-32 - 4 MB flash, no PSRAM, Wi-Fi + Bluetooth Classic/BLE
- Display and microSD on separate hardware SPI buses
- Crowtail ports on the back - UART0, UART1 (IO16/IO17), I2C (IO21/IO22), GPIO_D (IO25/IO32)
- Speaker output from the ESP32 DAC (IO26) through an onboard amplifier, PH2.0 connector
- PH2.0 battery connector with onboard charging circuit
- Laser-cut acrylic case and USB-C cable included; CH340C for flashing
- First-class ESPHome, TFT_eSPI and LVGL support - the ILI9341 + XPT2046 combo is a known quantity
FAQ
5 common questionsDoes the CrowPanel 2.8 work with ESPHome?›
How does it compare to a "cheap yellow display" (CYD)?›
Is the touchscreen capacitive?›
Can it run LVGL?›
How do I flash it?›
Where to buy
prices are typical street pricesResources
Similar boards


