KY-038 Microphone Sound Sensor Module
View on Amazon
Overview
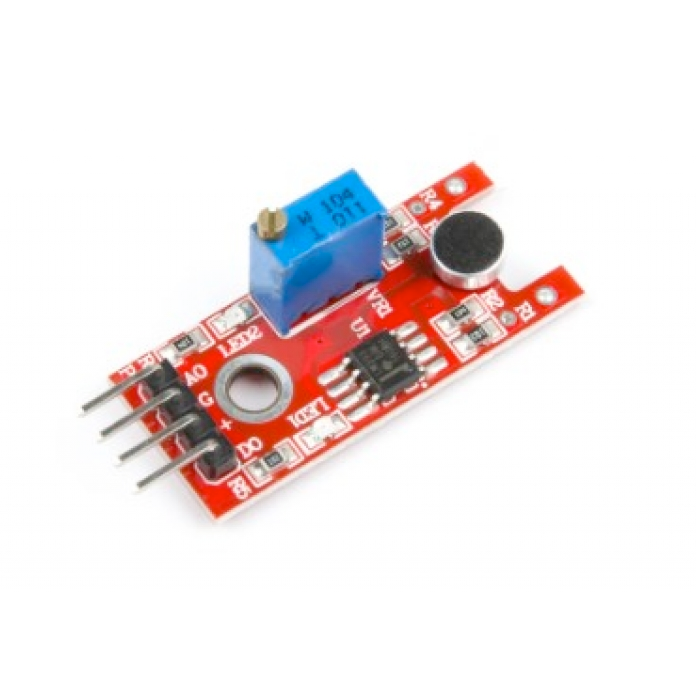
About KY-038 Microphone Sound Sensor Module
The KY-038 Microphone Sound Sensor Module is designed to detect sound levels in the environment. It features an electret condenser microphone that captures sound signals and an LM393 comparator to process these signals. The module provides both analog and digital outputs: the analog output delivers a voltage proportional to the sound intensity, while the digital output goes high when the sound level exceeds a user-defined threshold, adjustable via an onboard potentiometer. This sensor is ideal for applications such as voice-activated projects, sound level monitoring, and interactive sound installations.
Get Your KY-038


💡 Prices are subject to change. We earn from qualifying purchases as an Amazon Associate.
KY-038 Specifications
Complete technical specification details for KY-038 Microphone Sound Sensor Module
📊 Technical Parameters
KY-038 Pinout
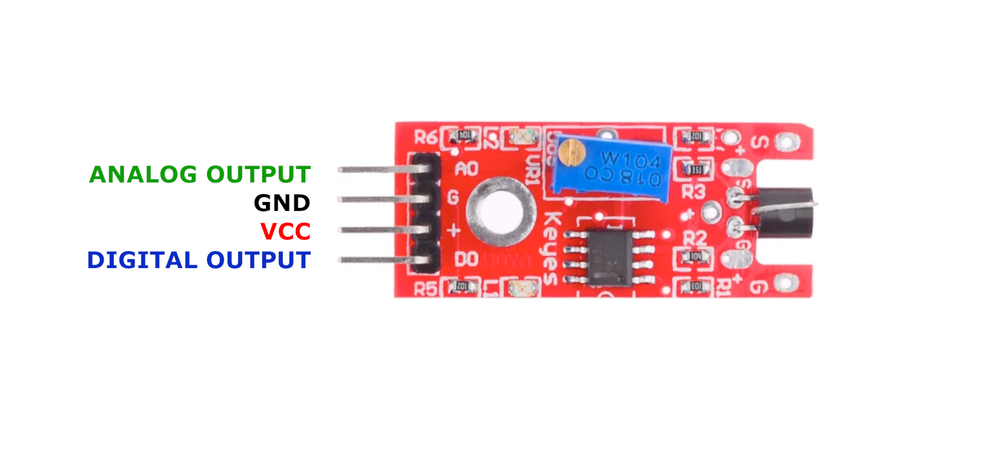
The **KY-038** is a 4-pin microphone sound sensor module with dual outputs:
Visual Pinout Diagram
Pin Types
Quick Tips
**Interface**: Dual output (analog + digital with comparator),🎤 **Sensor**: Electret condenser microphone
**Comparator**: LM393 for digital threshold detection,📊 **Analog Output**: Continuous voltage reading proportional to sound level
**Digital Output**: Threshold-based trigger (adjustable via potentiometer),⚡ **Power**: 3.3V or 5V operation
Pin Descriptions
| Pin Name | Type | Description | Notes |
|---|---|---|---|
1 +V | Power | Power supply | 3.3V or 5V |
2 GND | Power | Ground connection | |
3 D0 | Communication | Digital output | HIGH when sound exceeds threshold |
4 A0 | Communication | Analog output | Voltage proportional to sound intensity |
Wiring KY-038 to ESP32
To interface the **KY-038** with an **ESP32** for sound detection:
Pin Connections
| KY-038 Pin | Connection | ESP32 Pin | Description |
|---|---|---|---|
1 +V Required | 3.3V | Power supply | |
2 GND Required | GND | Ground | |
3 D0 Optional | GPIO15 | Digital input (any GPIO) | |
4 A0 Optional | GPIO34 | Analog input (ADC pin) |
**Dual Use**: Use analog for sound level measurement or digital for threshold detection
**ADC Pins**: Use GPIO32-39 for analog input on ESP32
**Voltage**: 3.3V recommended for ESP32
**Adjustment**: Turn onboard potentiometer to set sensitivity threshold
**Applications**: Voice activation, sound level monitoring, clap detection, interactive installations
KY-038 Troubleshooting
Common issues and solutions to help you get your sensor working
Common Issues
Issue: The sensor does not respond to sound.
Solutions:
- Ensure the module is properly powered with the correct voltage (3.3V or 5V).
- Verify all connections are secure and correctly wired.
- Adjust the sensitivity using the onboard potentiometer.
- Check if the microphone is functioning correctly and not obstructed.
Issue: The sensor triggers without any sound input.
Solutions:
- Reduce the sensitivity using the potentiometer to prevent false triggers.
- Ensure the environment is free from electrical noise or interference.
- Check for any loose connections or faulty components on the module.
Debugging Tips
Use the Serial Monitor to check for error messages and verify the sensor's output. Add debug prints in your code to track the sensor's state.
Use a multimeter to verify voltage levels and check for continuity in your connections. Ensure the power supply is stable and within the sensor's requirements.
Additional Resources
KY-038 Programming Examples
Ready-to-use code examples for different platforms and frameworks
int analogPin = A0;   // Analog output of the sensor
int digitalPin = 3;   // Digital output of the sensor

void setup() {
    pinMode(analogPin, INPUT);
    pinMode(digitalPin, INPUT);
    Serial.begin(9600);
    Serial.println("KY-038 Sound Detection Module Test");
}

void loop() {
    float analogValue = analogRead(analogPin) * (5.0 / 1023.0);
    int digitalValue = digitalRead(digitalPin);

    Serial.print("Analog Voltage: ");
    Serial.print(analogValue, 4);
    Serial.print(" V, Threshold: ");
    Serial.println(digitalValue == HIGH ? "Reached" : "Not Reached");
    Serial.println("----------------------------------------------------------------");
    delay(1000);
}
This Arduino code initializes the analog and digital pins connected to the KY-038 sensor. It reads the analog voltage to monitor sound intensity and checks the digital output to determine if the sound level has exceeded the set threshold. The results are printed to the serial monitor every second.
#include <stdio.h>
#include "freertos/FreeRTOS.h"
#include "freertos/task.h"
#include "driver/adc.h"
#include "driver/gpio.h"

#define ANALOG_PIN ADC1_CHANNEL_6 // GPIO34
#define DIGITAL_PIN GPIO_NUM_15

void app_main(void) {
    adc1_config_width(ADC_WIDTH_BIT_12);
    adc1_config_channel_atten(ANALOG_PIN, ADC_ATTEN_DB_11);
    gpio_set_direction(DIGITAL_PIN, GPIO_MODE_INPUT);

    printf("KY-038 Sound Detection Module Test\n");
    while (1) {
        int raw = adc1_get_raw(ANALOG_PIN);
        float voltage = raw * (3.3 / 4095.0);
        int digital_state = gpio_get_level(DIGITAL_PIN);

        printf("Analog Voltage: %.2f V, Sound Detected: %s\n", voltage, digital_state ? "Yes" : "No");
        vTaskDelay(pdMS_TO_TICKS(1000));
    }
}
This ESP-IDF code configures GPIO34 as an analog input and GPIO15 as a digital input for the KY-038 sound sensor. It reads the analog voltage and digital state, printing the voltage and whether a sound is detected to the console every second.
sensor:
  - platform: adc
    pin: GPIO34
    name: "KY-038 Sound Sensor Analog"
    update_interval: 1s
    filters:
      - multiply: 3.3
      - lambda: |-
          return x * 1000;  // Convert to millivolts

binary_sensor:
  - platform: gpio
    pin:
      number: GPIO15
      mode: INPUT_PULLUP
    name: "KY-038 Sound Sensor Digital"
This ESPHome configuration sets up the KY-038 sensor with both an analog and digital sensor. The analog value from GPIO34 is converted to millivolts, while the digital sensor on GPIO15 acts as a binary sensor to indicate sound detection.
platformio.ini
[env:esp32]
platform = espressif32
board = esp32dev
framework = arduino
main.cpp
#include <Arduino.h>

#define ANALOG_PIN 34
#define DIGITAL_PIN 15

void setup() {
    pinMode(DIGITAL_PIN, INPUT_PULLUP);
    Serial.begin(115200);
    Serial.println("KY-038 Sound Sensor Test");
}

void loop() {
    int raw_value = analogRead(ANALOG_PIN);
    float voltage = raw_value * (3.3 / 4095.0) * 1000; // Convert to millivolts
    int digital_value = digitalRead(DIGITAL_PIN);
    Serial.printf("Analog Voltage: %.2f mV, Digital State: %s\n", voltage, digital_value ? "Sound Detected" : "No Sound");
    delay(1000);
}
This PlatformIO code sets up GPIO34 as an analog input and GPIO15 as a digital input for the KY-038 sensor. It reads the analog voltage and digital state, logging the voltage and sound detection status to the serial monitor every second.
import machine
import time

ANALOG_PIN = machine.ADC(machine.Pin(34))
ANALOG_PIN.atten(machine.ADC.ATTN_11DB)
DIGITAL_PIN = machine.Pin(15, machine.Pin.IN, machine.Pin.PULL_UP)

while True:
    analog_value = ANALOG_PIN.read()
    voltage = (analog_value / 4095) * 3300  # Convert to millivolts
    digital_value = DIGITAL_PIN.value()
    print("Analog Voltage:", voltage, "mV", "| Digital State:", "Sound Detected" if digital_value == 1 else "No Sound")
    time.sleep(1)
This MicroPython script configures GPIO34 as an ADC input and GPIO15 as a digital input for the KY-038 sensor. It continuously reads the sensor values and prints the voltage and sound detection state every second.
Wrapping Up KY-038
The ESP32 KY-038 Microphone Sound Sensor Module is a powerful KY-0xx module sensor that offers excellent performance and reliability. With support for multiple development platforms including Arduino, ESP-IDF, ESPHome, PlatformIO, and MicroPython, it's a versatile choice for your IoT projects.
Best Practices
For optimal performance, ensure proper wiring and follow the recommended configuration for your chosen development platform.
Safety First
Always verify power supply requirements and pin connections before powering up your project to avoid potential damage.
Ready to Start Building?
Now that you have all the information you need, it's time to integrate the KY-038 into your ESP32 project and bring your ideas to life!
Explore Alternative Sensors
Looking for alternatives to the KY-038? Check out these similar sensors that might fit your project needs.
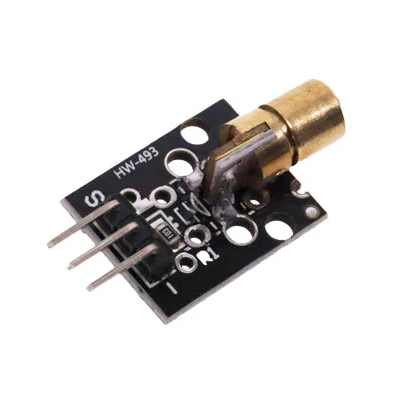
KY-008 Laser Transmitter Module
The KY-008 is a laser transmitter module that emits a red laser beam at 650 nm with an output power of 5 mW. It is suitable for applications...
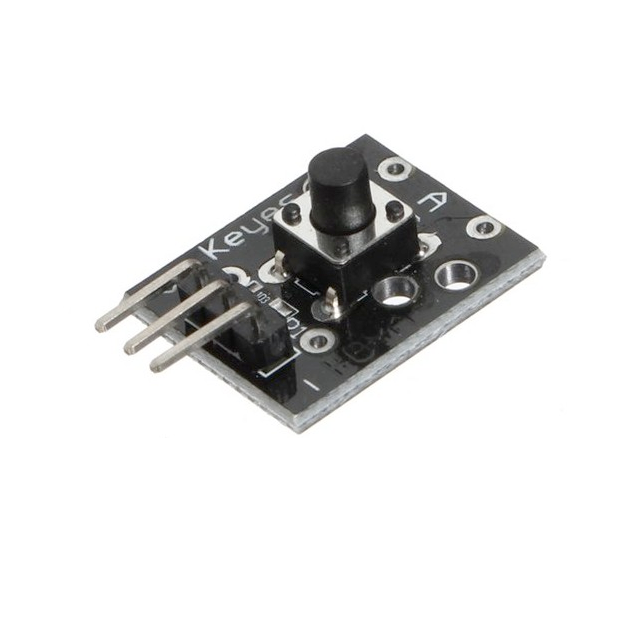
KY-004 Key Switch Module
The KY-004 is a key switch module equipped with a tactile push-button. It provides a digital output signal when pressed, making it ideal for...
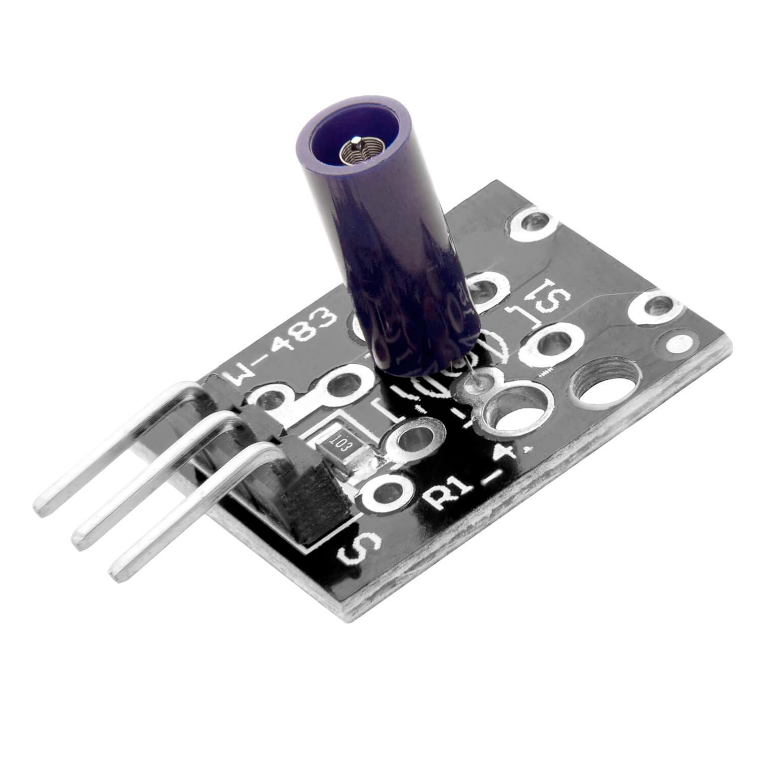
KY-002 Vibration Switch Module
The KY-002 is a vibration switch module that detects shocks and vibrations through a conductive spring mechanism. Upon movement, it sends a...


