ESP32 DFRobot C4001 mmWave Presence Sensor
Overview
The DFRobot C4001 is a compact, high-performance mmWave radar sensor supporting UART and I2C. It provides flexible configuration and reliable presence detection for smart home and industrial applications.
About DFRobot C4001 mmWave Presence Sensor
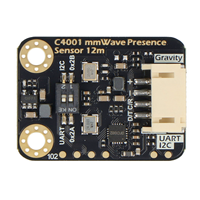
The DFRobot C4001 (SEN0610) is a 24GHz mmWave radar sensor capable of detecting human presence, motion, and micro-movements with a detection range of up to 12 meters. It supports both UART and I2C interfaces and includes configurable detection zones, thresholds, and filtering via command protocols. Its gravity form factor and versatile communication options make it ideal for smart lighting, occupancy sensing, and automation applications.
Where to Buy


Prices are subject to change. We earn from qualifying purchases as an Amazon Associate.
Technical Specifications
Pinout Configuration
The VCC pin is used to supply power to the sensor, and it typically requires 3.3V or 5V (refer to the datasheet for specific voltage requirements). The GND pin is the ground connection and must be connected to the ground of your ESP32.
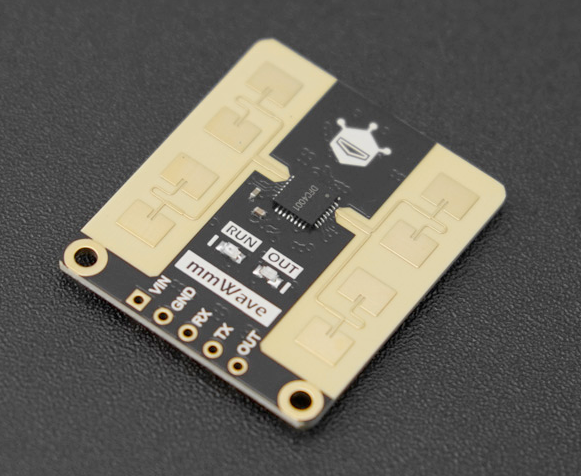
The C4001 module includes the following pins:
VCC– Power input (3.3V to 5.5V).GND– Ground pin.RX– UART receive pin (connect to TX of microcontroller).TX– UART transmit pin (connect to RX of microcontroller).SDA– I2C data line (connect to SDA on ESP32, typically GPIO21).SCL– I2C clock line (connect to SCL on ESP32, typically GPIO22).
The sensor can be used with either UART or I2C, but not both simultaneously. Default I2C address is 0x20.
Wiring with ESP32
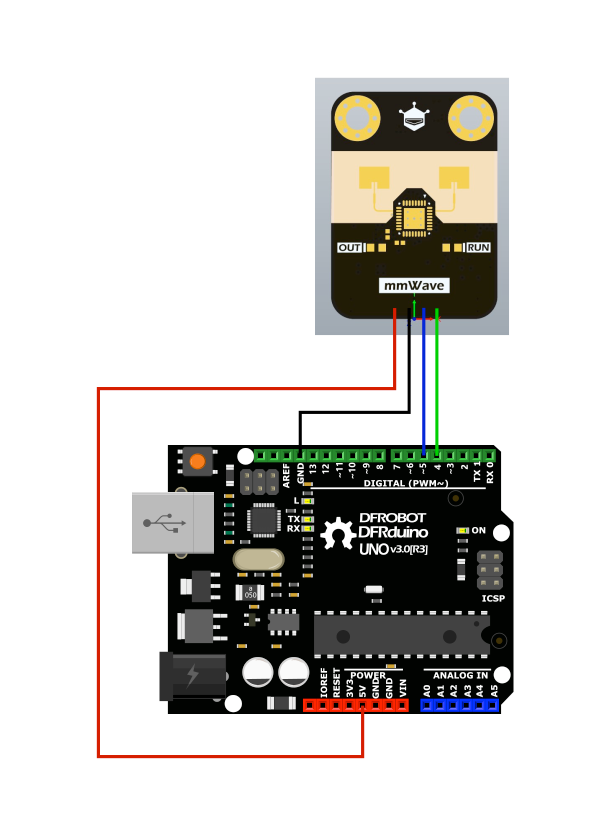
To connect the C4001 to an ESP32:
- For I2C:
VCC→ 3.3V or 5V on ESP32GND→ GND on ESP32SDA→ GPIO21 (default I2C SDA)SCL→ GPIO22 (default I2C SCL)- For UART:
TX→ GPIO16 (ESP32 RX)RX→ GPIO17 (ESP32 TX)
Ensure I2C and UART are not used at the same time. Use pull-up resistors (4.7kΩ) for I2C lines if necessary.
Troubleshooting Guide
Common Issues
📡 No Detection Output
Issue: No presence data is received.
Verify correct interface selection and wiring. Check for power supply issues. Ensure I2C address (default 0x20) or UART baud rate (115200) is properly configured.
🔌 Communication Fails
Issue: Sensor does not respond to commands.
Ensure no interface conflict between I2C and UART. Confirm proper voltage level and pull-up resistors for I2C. Use a logic analyzer or serial monitor to debug command responses.
Debugging Tips
🔍 Serial Monitor
Use the Serial Monitor to check for error messages and verify the sensor's output. Add debug prints in your code to track the sensor's state.
⚡ Voltage Checks
Use a multimeter to verify voltage levels and check for continuity in your connections. Ensure the power supply is stable and within the sensor's requirements.
Additional Resources
Code Examples
Arduino Example
#include <DFRobot_C4001.h>

DFRobot_C4001 radar;

void setup() {
  Serial.begin(115200);
  radar.begin(&Serial);
}

void loop() {
  if (radar.available()) {
    DFRobot_C4001::sRadarData_t data = radar.getRadarData();
    Serial.print("Motion: ");
    Serial.print(data.motion);
    Serial.print("	Presence: ");
    Serial.println(data.presence);
  }
  delay(500);
}
This example uses the DFRobot_C4001 library to initialize and read motion/presence data via UART. Make sure the UART port and baud rate match your wiring setup. Full library and documentation available at DFRobot Wiki.
ESPHome Example
i2c:
  sda: GPIO21
  scl: GPIO22
  scan: true

dfrobot_sen0395:
  id: c4001_sensor

sensor:
  - platform: dfrobot_sen0395
    motion:
      name: "Motion Detected"
    presence:
      name: "Presence"
This ESPHome config sets up the C4001 sensor via I2C using the dfrobot_sen0395 platform. SDA and SCL default to GPIO21/22. It exposes both motion and presence states as sensors in Home Assistant. Ensure no UART conflict and the device address matches your hardware.
PlatformIO Example
platformio.ini
[env:esp32dev]
platform = espressif32
board = esp32dev
framework = arduino
lib_deps = dfrobot/DFRobot_C4001@^1.0.0
monitor_speed = 115200
PlatformIO Example Code
#include <DFRobot_C4001.h>

DFRobot_C4001 radar;

void setup() {
  Serial.begin(115200);
  radar.begin(&Serial);
}

void loop() {
  if (radar.available()) {
    auto data = radar.getRadarData();
    Serial.print("Motion: "), Serial.print(data.motion);
    Serial.print(" Presence: "), Serial.println(data.presence);
  }
  delay(500);
}
This PlatformIO example uses the official DFRobot_C4001 library to initialize and read radar data via UART. It prints motion and presence values every 500ms. Ensure wiring and serial port configuration match your ESP32 setup.
MicroPython Example
There is currently no official MicroPython support for the C4001 sensor. Developers may refer to the UART/I2C command protocol in the datasheet and implement a parser using machine.UART or I2C.
Conclusion
The ESP32 DFRobot C4001 mmWave Presence Sensor is a powerful Human Presence sensor that offers excellent performance and reliability. With support for multiple development platforms including Arduino, ESP-IDF, ESPHome, PlatformIO, and MicroPython, it's a versatile choice for your IoT projects.
For optimal performance, ensure proper wiring and follow the recommended configuration for your chosen development platform.
Always verify power supply requirements and pin connections before powering up your project to avoid potential damage.
