VL53L1X Time-of-Flight Sensor
View on Amazon
Overview
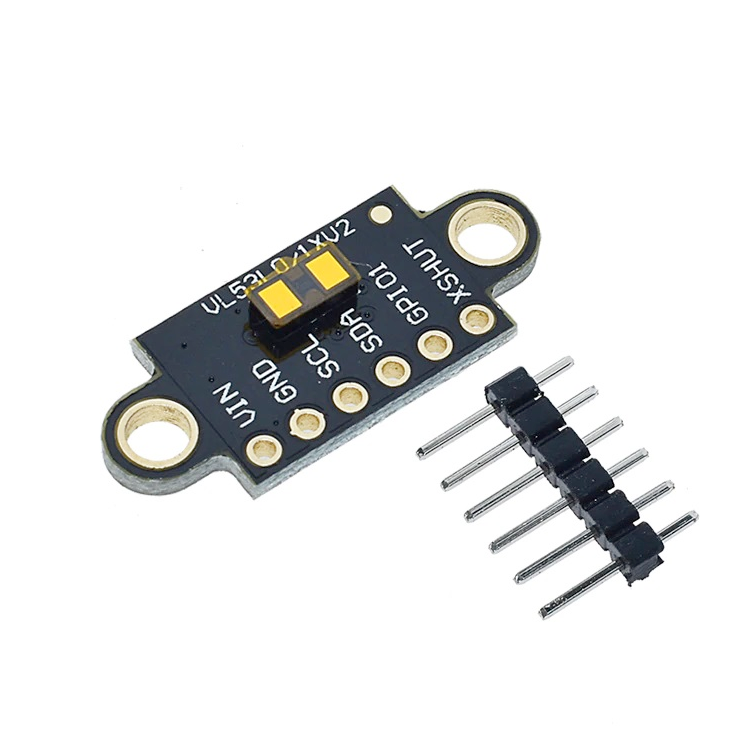
About VL53L1X Time-of-Flight Sensor
📏 VL53L1X Sensor Overview
- Range: 0cm to 400cm (Max)
- Interface: I²C digital communication
- Resolution: 1mm
- Field of View: 27°
- Operating Voltage: 2.6V to 3.5V (typically 3.3V)
- Typical Current: ~20–40mA during ranging
- Laser Wavelength: 940nm
- Adjustable timing budget and distance mode
- Compact 6-pin PCB module with mounting holes
Check Other sensors modules based on VL53L1X Time of Flight Sensor:
Get Your VL53L1X


💡 Prices are subject to change. We earn from qualifying purchases as an Amazon Associate.
VL53L1X Pinout
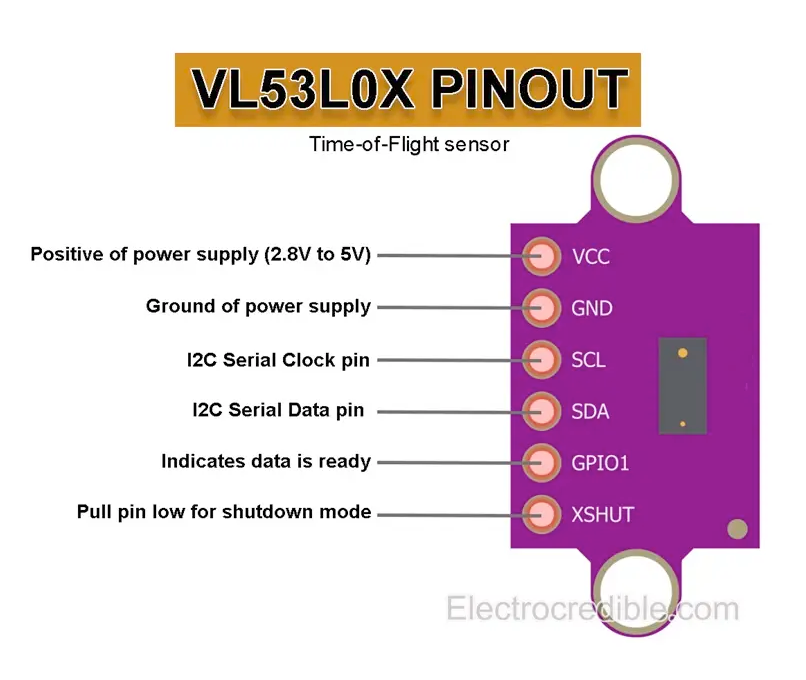
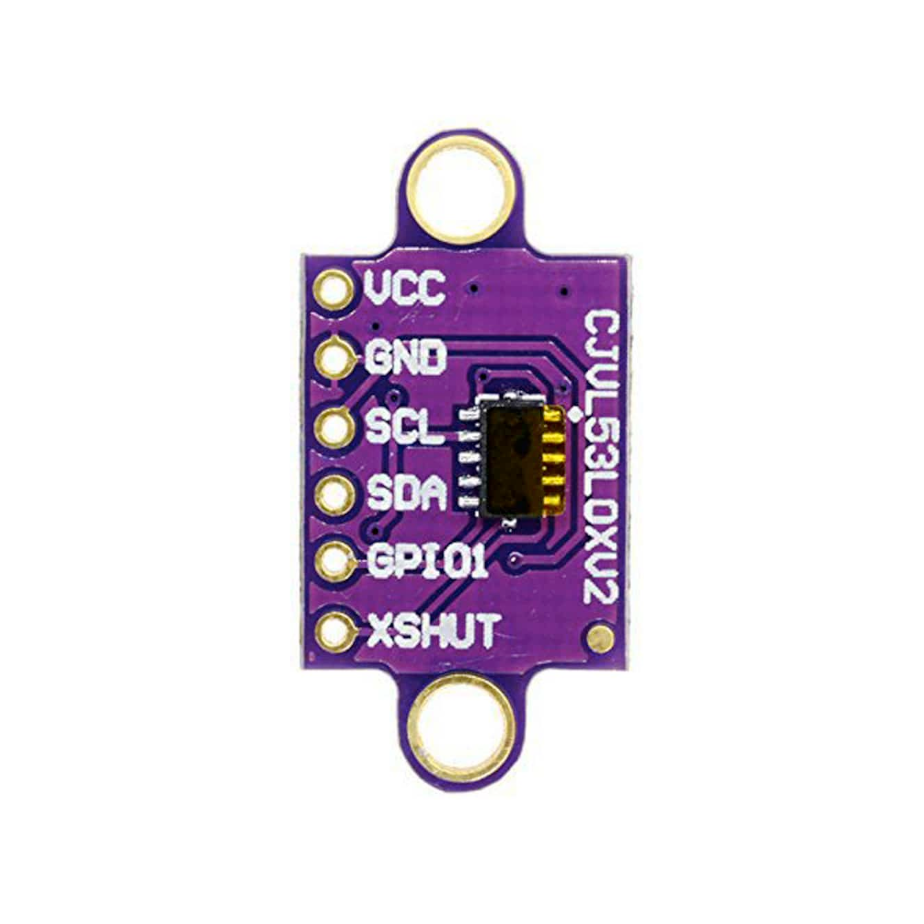
The VL53L1X pinout includes I2C communication pins (SDA, SCL), power supply (VIN, GND), shutdown pin (XSHUT), and interrupt pin (GPIO1) for long-range distance measurements up to 4 meters.
Visual Pinout Diagram
Pin Types
Quick Tips
Time-of-Flight (ToF) sensor,Measurement range: 0 mm to 4000 mm (4 meters),Resolution: 1 mm,Field of View: 27°
voltage: 2.6V to 3.5V (3.3V recommended),I2C address: 0x29 (default),Laser wavelength: 940 nm (Class 1)
timing budget and distance modes,Current consumption: ~20-40 mA during ranging,Compact 6-pin PCB module with mounting holes
Pin Descriptions
| Pin Name | Type | Description | Notes |
|---|---|---|---|
1 VIN | Power | Power supply input (2.6V to 3.5V) | Typically 3.3V (strict requirement) |
2 GND | Ground | Ground connection | Common ground |
3 SCL | I2C Clock | I2C Serial Clock line | Clock signal (requires pull-up) |
4 SDA | I2C Data | I2C Serial Data line | Bidirectional data (requires pull-up) |
5 GPIO1 | Interrupt | Interrupt output pin | Optional for event-driven measurements |
6 XSHUT | Control | Shutdown pin (active low) | Used to reset sensor or change I2C address |
Wiring VL53L1X to ESP32
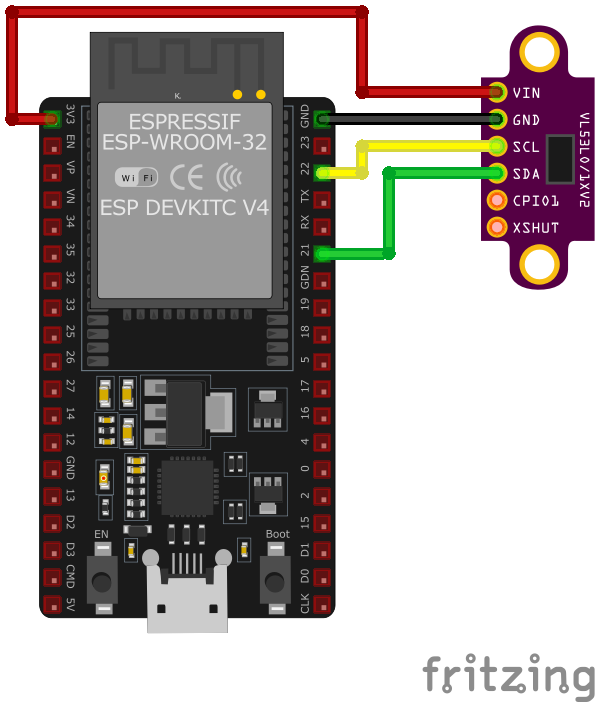
Connect the VL53L1X to your ESP32 via I2C (SDA and SCL pins). This sensor offers extended range up to 4 meters compared to the VL53L0X. Operating voltage is 2.6V to 3.5V (use 3.3V). Pull-up resistors are typically included on modules.
Visual Wiring Diagram
Connection Status
Protocol
Pin Connections
| VL53L1X Pin | Connection | ESP32 Pin | Description |
|---|---|---|---|
1 VIN Required | 3.3V | Power supply (2.6V to 3.5V, use 3.3V) | |
2 GND Required | GND | Ground connection | |
3 SDA Required | GPIO21 | I2C data line (with pull-up) | |
4 SCL Required | GPIO22 | I2C clock line (with pull-up) | |
5 XSHUT Optional | GPIO (optional) | Shutdown/reset control (tie high to enable) | |
6 GPIO1 Optional | GPIO (optional) | Interrupt output for measurement ready |
range: up to 4 meters (2x the VL53L0X)
address: 0x29 (same as VL53L0X)
voltage: 2.6V to 3.5V - use 3.3V, NOT 5V!
resistors (4.7kΩ) typically included on module
distance modes: short (1.3m), medium (3m), long (4m)
timing budget affects accuracy and speed
pin allows multiple sensors on same I2C bus
XSHUT high (3.3V) to enable sensor by default
Adafruit_VL53L1X or Pololu VL53L1X library
performance in ambient light than VL53L0X
shiny, transparent, or very dark surfaces
of view (27°) wider than VL53L0X (25°)
VL53L1X Troubleshooting
Common issues and solutions to help you get your sensor working
Common Issues
Issue: Sensor not responding over I²C.
Solution: Verify wiring, check if XSHUT is high, and ensure the I²C address does not conflict with other devices.
Issue: Unstable distance values.
Solution: Use longer timing budget in code, or stabilize the environment (lighting, surface reflectivity).
Issue: Sensor stuck at max distance (4000 mm).
Solution: Ensure object is within line of sight, avoid high IR interference, and ensure proper power supply.
Debugging Tips
Use the Serial Monitor to check for error messages and verify the sensor's output. Add debug prints in your code to track the sensor's state.
Use a multimeter to verify voltage levels and check for continuity in your connections. Ensure the power supply is stable and within the sensor's requirements.
Additional Resources
VL53L1X Programming Examples
Ready-to-use code examples for different platforms and frameworks
Wrapping Up VL53L1X
The ESP32 VL53L1X Time-of-Flight Sensor is a powerful distance sensor that offers excellent performance and reliability. With support for multiple development platforms including Arduino, ESP-IDF, ESPHome, PlatformIO, and MicroPython, it's a versatile choice for your IoT projects.
Best Practices
For optimal performance, ensure proper wiring and follow the recommended configuration for your chosen development platform.
Safety First
Always verify power supply requirements and pin connections before powering up your project to avoid potential damage.
Ready to Start Building?
Now that you have all the information you need, it's time to integrate the VL53L1X into your ESP32 project and bring your ideas to life!
Explore Alternative Sensors
Looking for alternatives to the VL53L1X? Check out these similar sensors that might fit your project needs.
A02YYUW Waterproof Ultrasonic Distance Sensor
The A02YYUW is a waterproof ultrasonic distance sensor ideal for outdoor and industrial applications. With a measuring range of up to 4.5...
VL53L0X Time-of-Flight Distance Sensor
The VL53L0X is an advanced Time-of-Flight distance sensor offering accurate, laser-based measurements over a range of 30 mm to 2,000 mm. It...
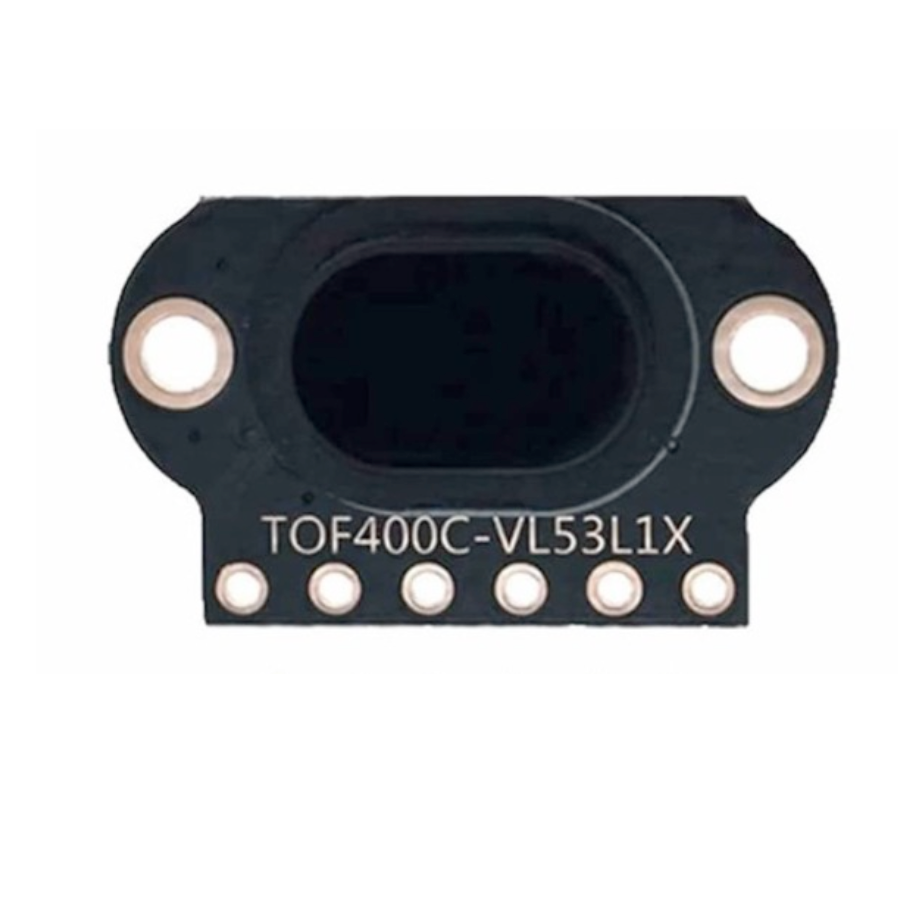
TOF400C Time-of-Flight Sensor
The TOF400C is a long-range laser-based time-of-flight (ToF) sensor based on the VL53L1X chip from STMicroelectronics. It measures distances...
