ESP32 Arduino IDE Setup: Install, Connect & Program ESP32 Boards
Complete guide to install ESP32 in Arduino IDE. Learn how to add ESP32 board manager, connect your ESP32 DevKit/WROOM to Arduino IDE, and upload your first program. Works with ESP32-C3, S3, WROOM-32, and all variants.
Arduino IDE is the quickest way to start programming an ESP32: one install, one board package, and you are uploading code. This guide covers the full setup - installing the IDE, adding ESP32 board support, and flashing a first program - and it applies to every ESP32 variant, from the classic WROOM-32 DevKit to the newer C3 and S3 boards.
https://espressif.github.io/arduino-esp32/package_esp32_dev_index.json
What you need
Hardware
Any ESP32 development board - DevKit V1, DevKitC, WROOM-32, NodeMCU-32S, a C3 Super Mini or C3 Zero, an S3 Super Mini, ESP32-CAM... the steps are identical. Not sure what you have? Find your board among 270+ pages →
A USB data cable - many bundled micro-USB cables are charge-only and will waste your afternoon.
Software
Windows, macOS or Linux - Arduino IDE runs on all three, and the ESP32 steps are the same.
USB drivers - usually installed automatically. If your board never shows up as a port, you may need the CP210x or CH340 driver.
Do I need to install drivers first? Usually not - modern systems handle it. But if the board is invisible in the port list later, install the CP210x (Silicon Labs) or CH340 driver for your board's USB chip. Driver installation guide →
1Install Arduino IDE
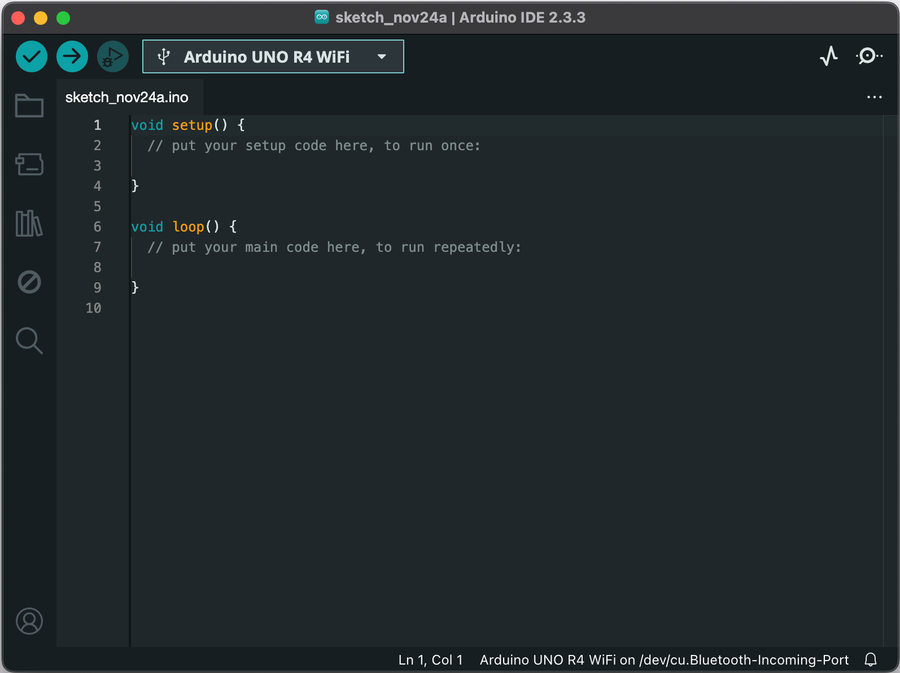
Download Arduino IDE from the official Arduino website. Version 2.x is what you want - it is the current IDE and what every screenshot in this guide shows.

Windows
Download the .exe installer, run it, and launch Arduino IDE from the Start menu.
macOS
With Homebrew:
brew install --cask arduino-ide
Or download the .dmg and drag it to Applications.
Linux
Download the AppImage from the website, or install via your package manager.
2Add ESP32 board support
Out of the box, Arduino IDE only knows official Arduino boards. One package from Espressif teaches it every ESP32 variant:
- Click the Boards Manager icon in the left sidebar.
- Search for
esp32. - Install "esp32 by Espressif Systems".
- Wait a few minutes - the package downloads the full toolchain.

ESP32 not showing up in Boards Manager? Add the package URL manually: open File → Preferences, paste the boards manager URL from the top of this page into Additional Board Manager URLs, click OK, then search for esp32 again.
To verify: open Tools → Board - you should now see an esp32 section with dozens of board entries.

Not sure which entry to pick later? "ESP32 Dev Module" works for most classic ESP32 boards. C3 boards use "ESP32C3 Dev Module", S3 boards "ESP32S3 Dev Module". Your board's exact entry is listed on its page in the boards database.
3Connect and upload
Plug your board into the computer with a USB data cable, then point Arduino IDE at it: pick the board under Tools → Board and the port under Tools → Port.
Windows
Tools → Port lists COM ports - usually somewhere between COM3 and COM10.
macOS
Look for a /dev/cu.usbserial-... or /dev/cu.SLAB_USBtoUART entry, depending on your board's USB chip.
Linux
Shows up as /dev/ttyUSB0 or /dev/ttyACM0. Nothing listed? Add your user to the dialout group and log back in.
Which entry to pick under Tools → Board:
- ESP32 DevKit V1 → "ESP32 Dev Module"
- ESP32 WROOM-32 (and WROOM-32D/E/U) → "ESP32 Dev Module"
- ESP32-C3 Super Mini → "ESP32C3 Dev Module"
- ESP32-S3 Super Mini → "ESP32S3 Dev Module"
- ESP32-CAM → "AI Thinker ESP32-CAM"
- NodeMCU-32S → "NodeMCU-32S"
- Firebeetle ESP32 → "FireBeetle-ESP32"
Not listed here? Every page in the boards database names its exact Arduino IDE entry.
This blink sketch works on any classic ESP32 board - GPIO2 is the built-in LED on most devkits. If your board uses a different pin, its board page has the right number.
// ESP32 blink - GPIO2 is the built-in LED on most classic devkits
int ledPin = 2;

void setup() {
  pinMode(ledPin, OUTPUT);
}

void loop() {
  digitalWrite(ledPin, HIGH);
  delay(1000);
  digitalWrite(ledPin, LOW);
  delay(1000);
}
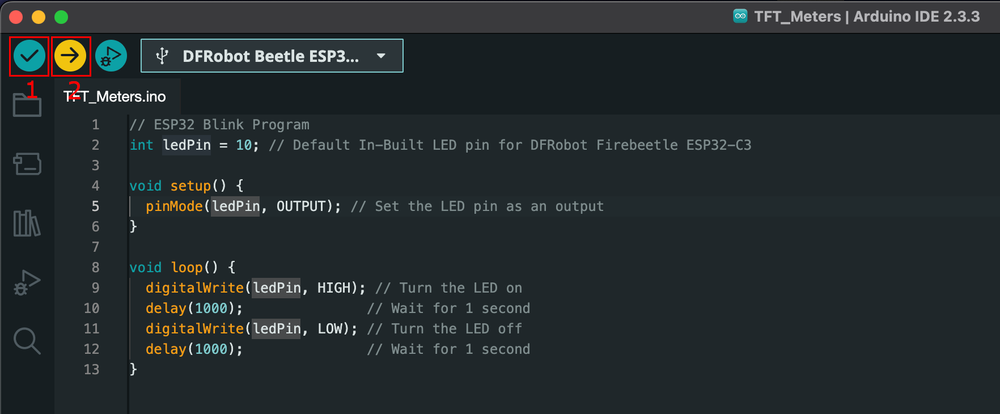
Click the checkmark to compile, then the arrow to upload:
- Verify: click the checkmark button (or Sketch → Verify/Compile) and wait for "Compilation successful".
- Upload: click the arrow button and wait for "Done uploading".
- Watch: the onboard LED should blink on and off once a second.
Prefer working in VSCode? You can build Arduino-core projects there too → Compiling Arduino-core projects in VSCode.
Troubleshooting
Upload fails or times out ("No serial data received"). Try these in order:
- Lower Tools → Upload Speed to 115200.
- Hold BOOT (or wire GPIO0 to GND) while the upload starts - some boards need manual boot mode. See ESP32 strapping pins.
- Swap in a known-good USB data cable - how to tell the difference.
- Check the cable's voltage with a multimeter - cheap cables often sag below 4.8 V under load.
No port appears in Tools → Port.
- Windows: install the CP210x or CH340 driver - driver installation guide.
- macOS: check System Settings → Privacy & Security for a blocked driver extension.
- Linux: add your user to the dialout group (
sudo usermod -a -G dialout $USER) and log back in.
Compiles and uploads, but nothing happens.
- Double check the LED pin matches your board - its page in the boards database lists the right one.
- Press RESET on the board.
- Open Tools → Serial Monitor to check for boot errors - serial monitor troubleshooting.
Managing board versions
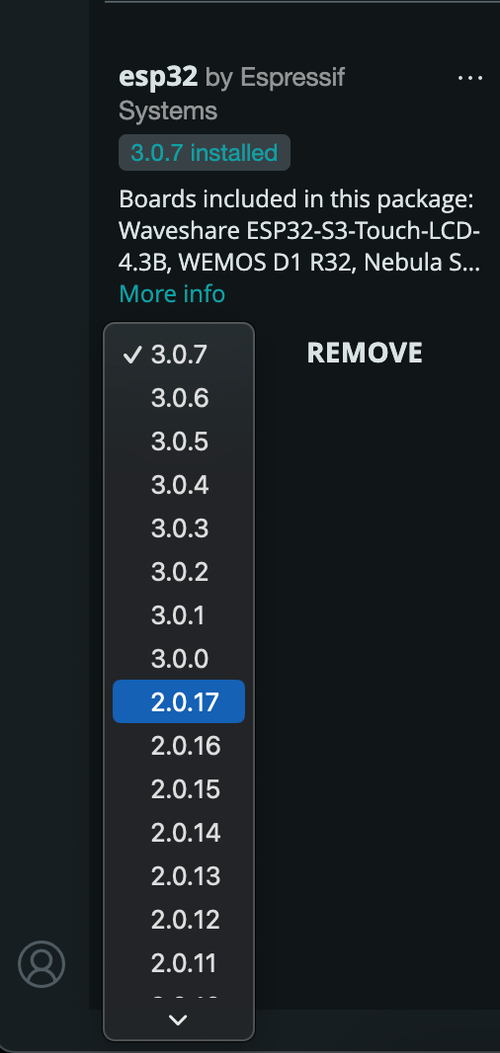
Sometimes you need a different esp32 package version - to pick up a new chip, or to match an older project that expects specific APIs. Open Tools → Board → Boards Manager, search for esp32, then use the dropdown next to the installed version to pick another one and click Install.